IIS Tilde Enumeration: Part 1
2023/08/14 12:27AM
Description
IIS tilde directory enumeration is a technique utilized to uncover hidden files, directories, and short file names (aka the 8.3 format) on some versions of Microsoft Internet Information Services (IIS) web servers. This method takes advantage of a specific vulnerability in IIS, resulting from how it manages short file names within its directories.
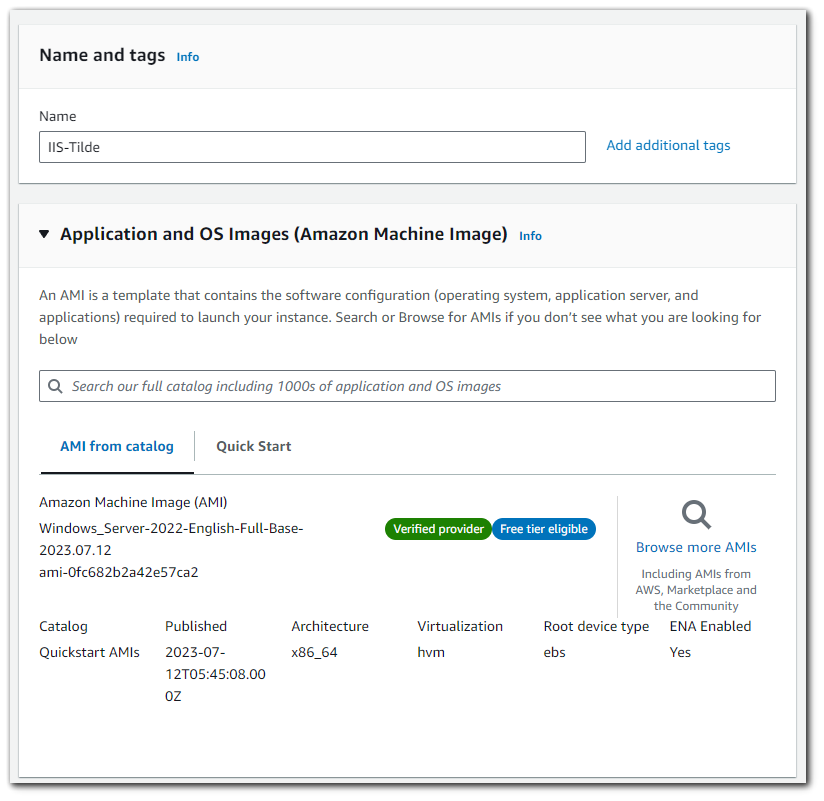
Step 1: Setup IIS Server
I will be choosing Windows Server 2022 as my AMI.
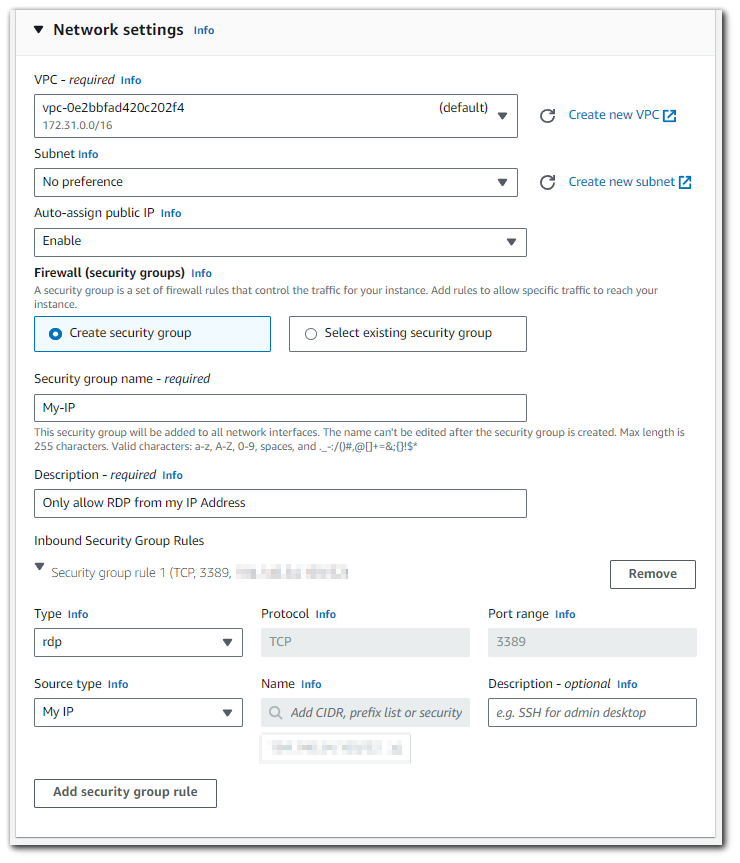
I will be creating a Key Pair in order to RDP into Windows Server 2022. You will need to select `.pem` in order to RDP.

I will select to only allow RDP to the Windows machine from my current IP address.
Click "Launch machine". Machine is successfully created.
Step 2: RDP to Windows Server 2022
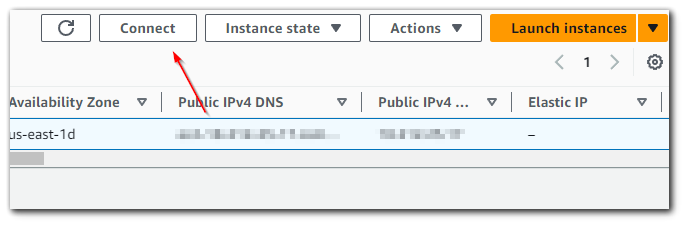
Before we can connect using RDP client, we will need to get the password from the Key-Pair we created in step 1. In order to do this, select the EC2 instance you created and click on connect
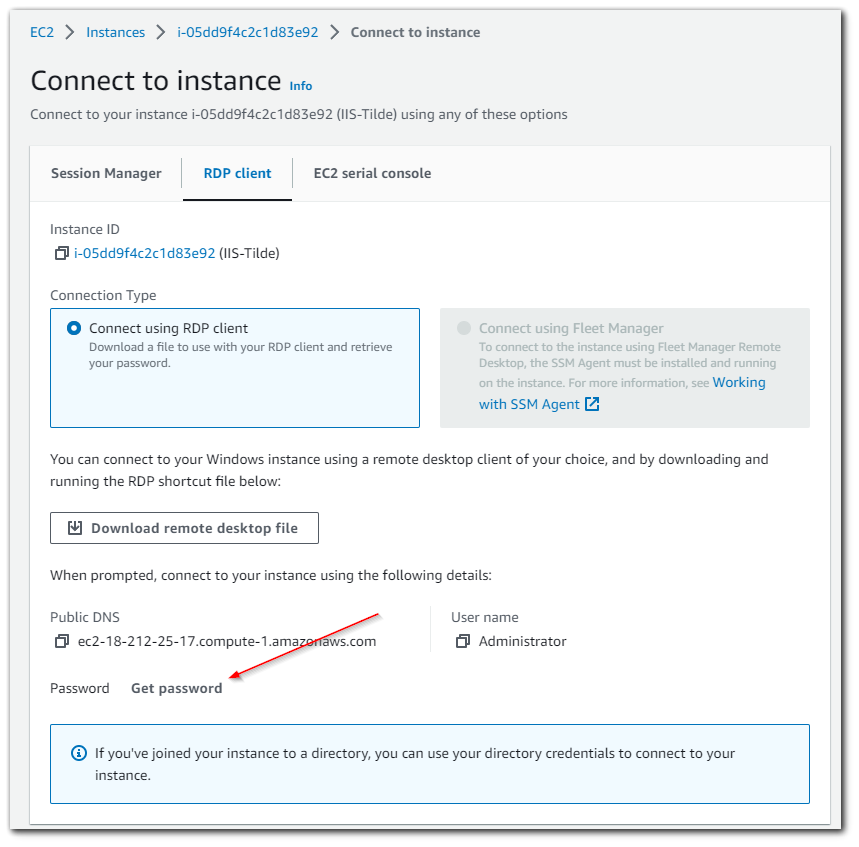
You then want to click on "Get password"
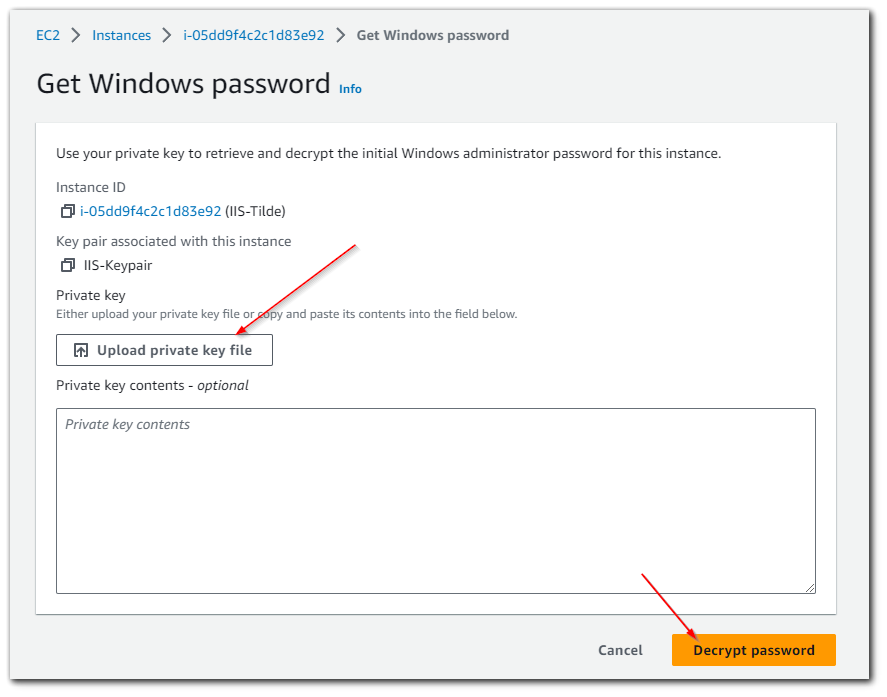
You then want to upload the Key-Pair you created in step 1 and then select "Decrypt password".
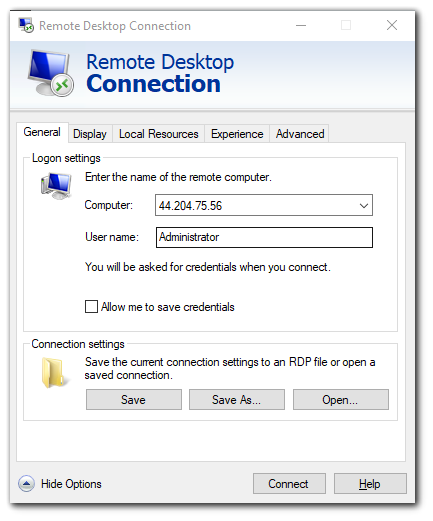
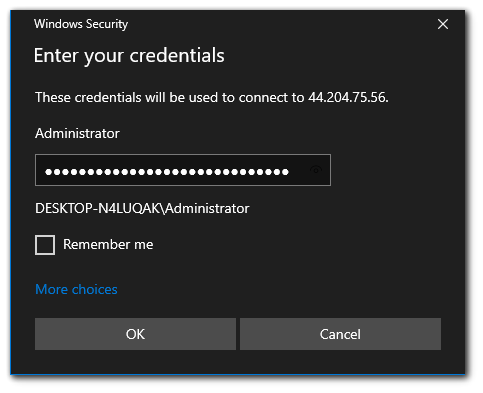
On your local machine, use the RDP client to connect to the machine.

You will want to use the Username of Administrator and provide the Public IP address to the EC2. You will then be prompted for the password.
Step 3: Setting up IIS
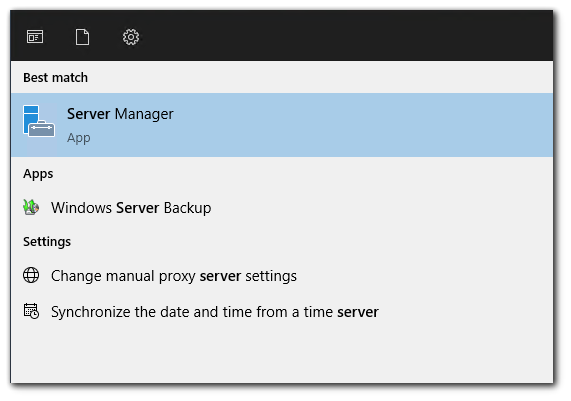
Open Server Manager. Windows Server Manager is a management tool provided by Microsoft for administering and managing Windows Server operating systems. It offers a centralized interface that allows administrators to perform various tasks related to server management, configuration, monitoring, and maintenance.
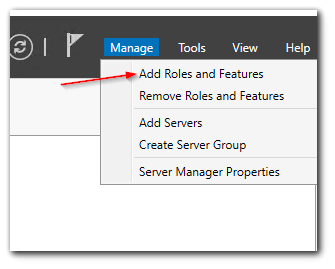
Click on "Add Roles and Features"
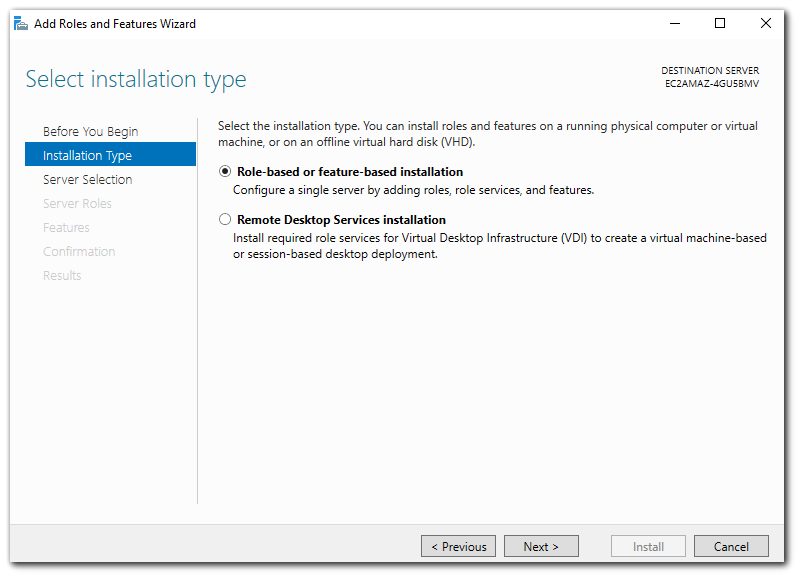
Select "Role-based or feature-based installation"
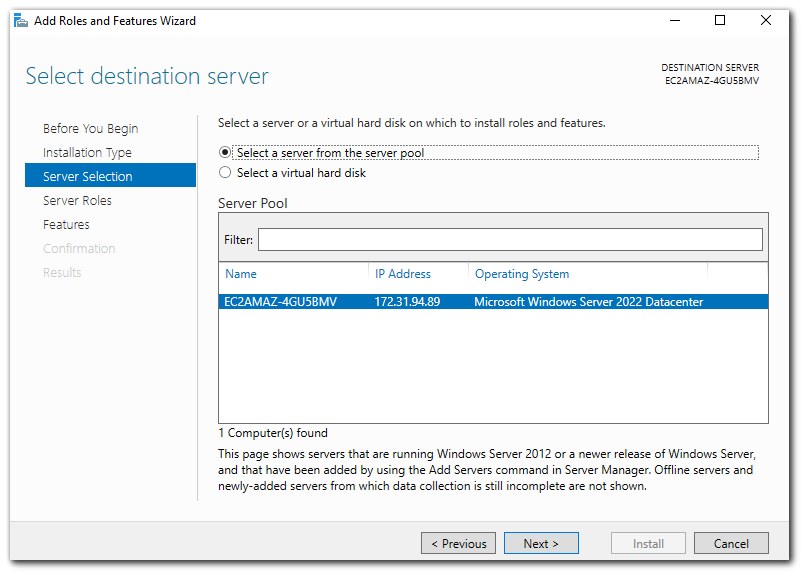
Click "Select a server from the server pool" and choose you server.
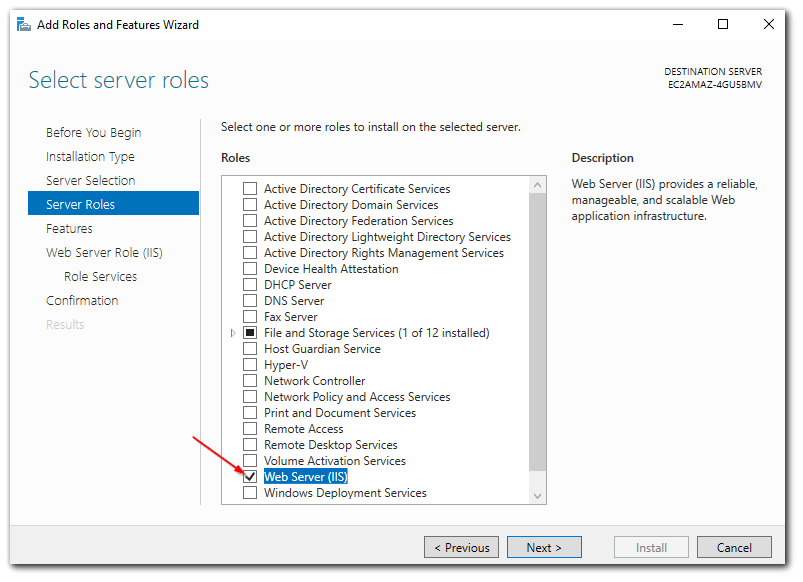
Select "Web Server (IIS)"
Keep hitting Next and then Install

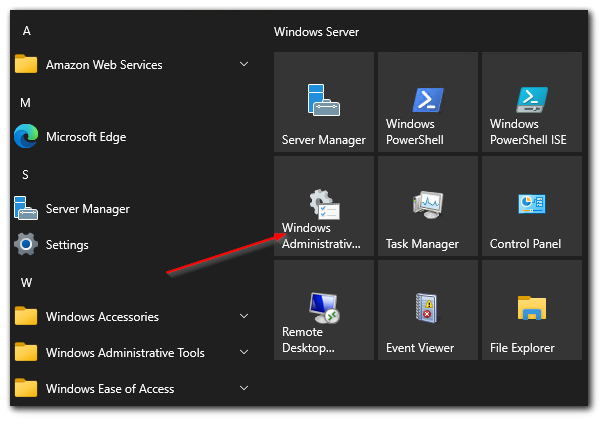
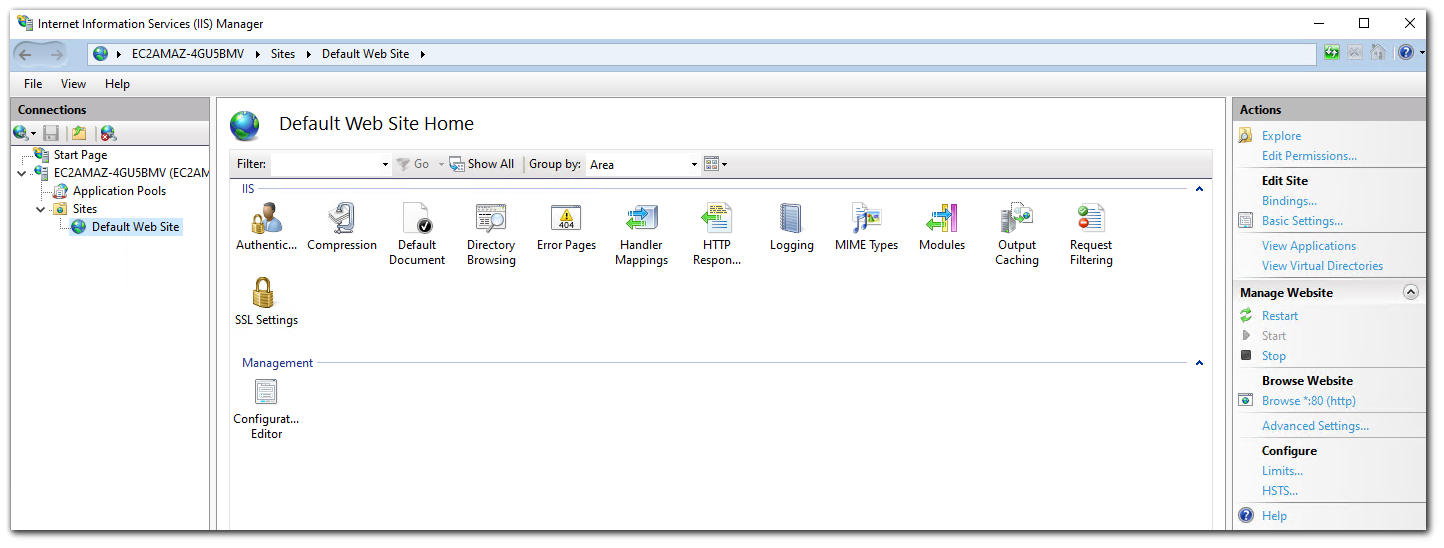
Open "Windows Administrative Tools"
Select "Internet Information Services (IIS) Manager"
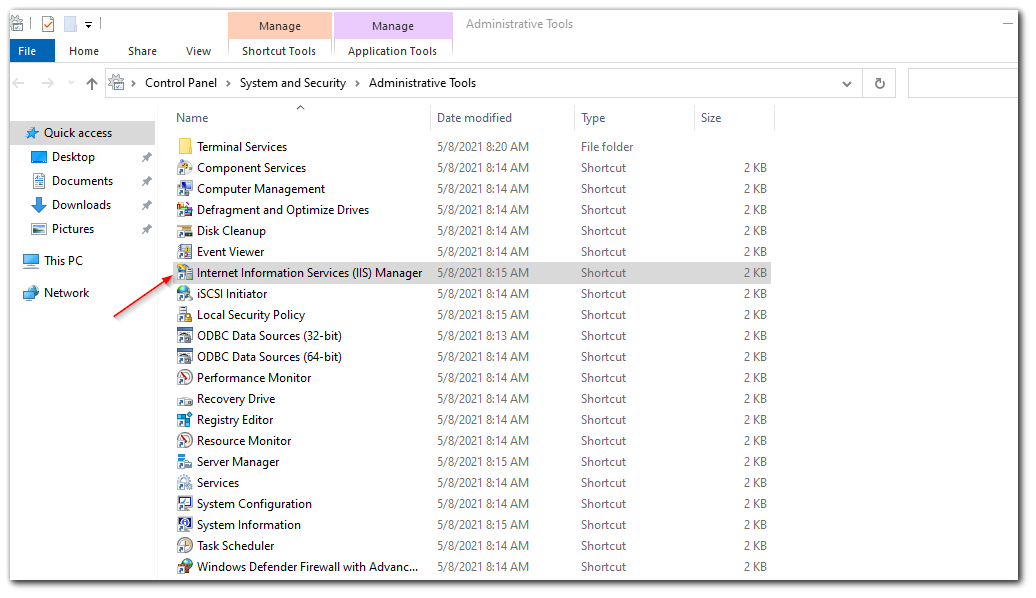
This is where you can administer the IIS webserver. The location of the webserver is in `C:\inetpub\wwwroot`
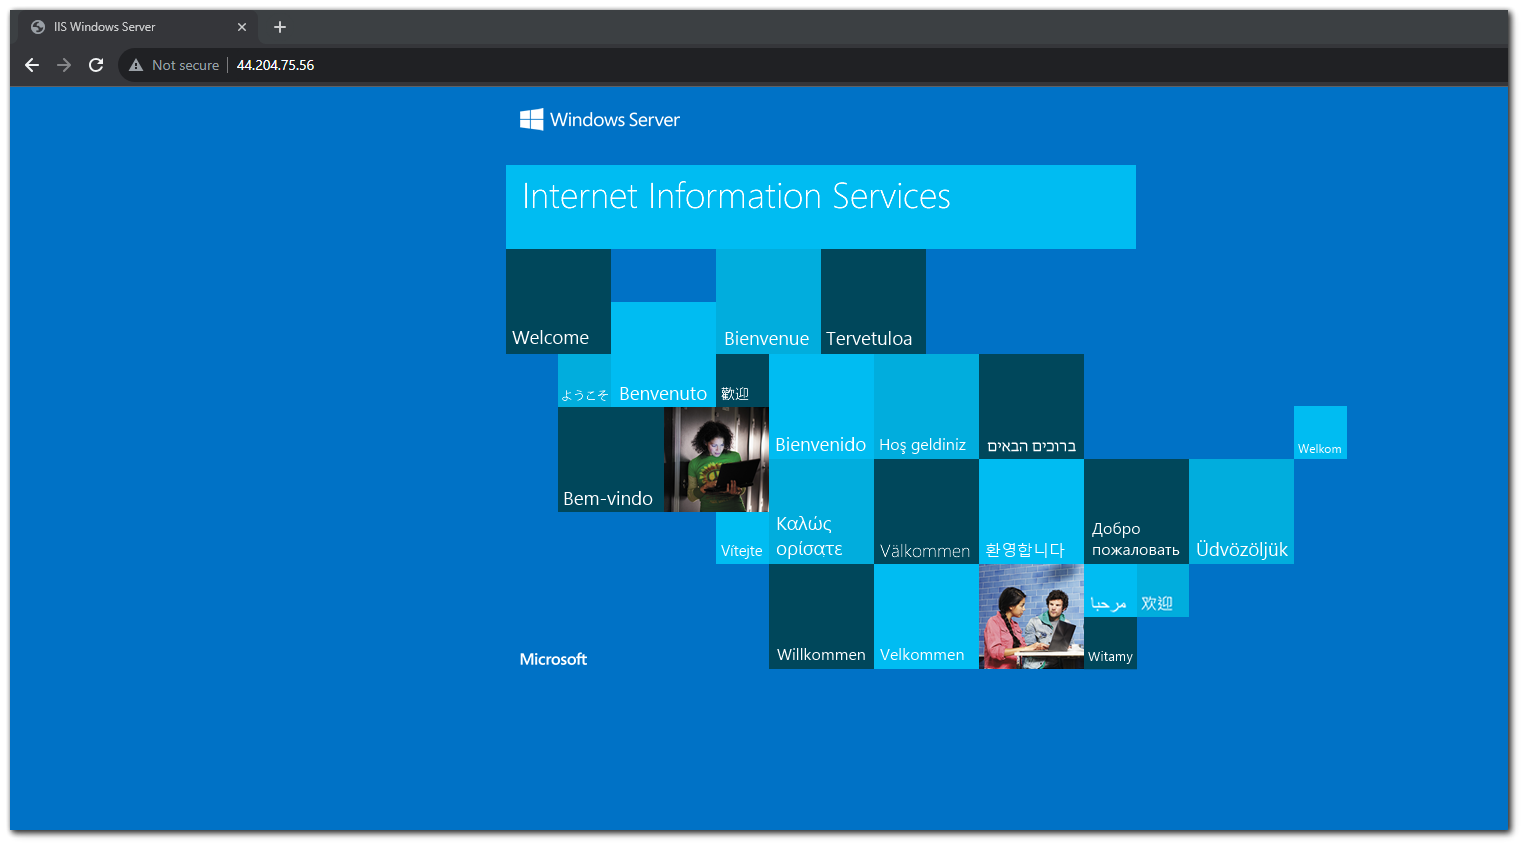
Step 4: Viewing the Webserver
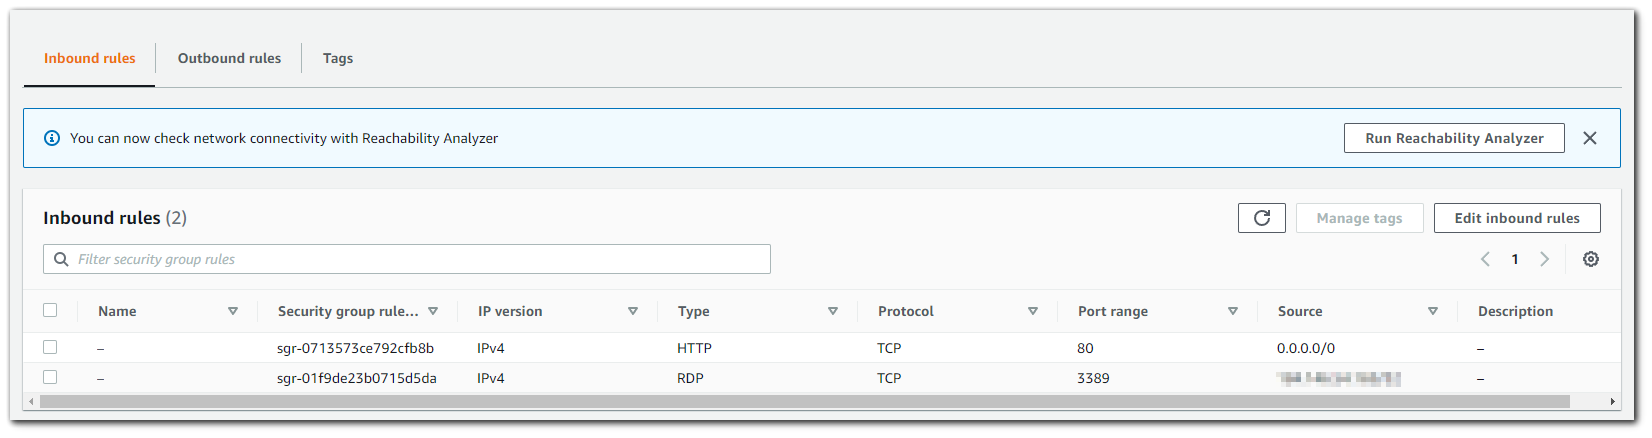
The final step is to view our webserver from another machine. In order to do this we will first need to make sure that our EC2 instance accept traffic coming from port 80 (HTTP). You can go to your EC2 instance and change the security group inbound rules to accept all traffic on port 80.
Now, we can put our public IP in the URL bar to see the default IIS webpage.