AWS Athena
2023/08/06 8:17PM
Description
In this post I created and documented a project I made in the goal to learn how to use AWS Athena. The project involves creating two S3 buckets, using the AWS Glue crawlers and database, and finally querying data using AWS Athena.
AWS Athena Description
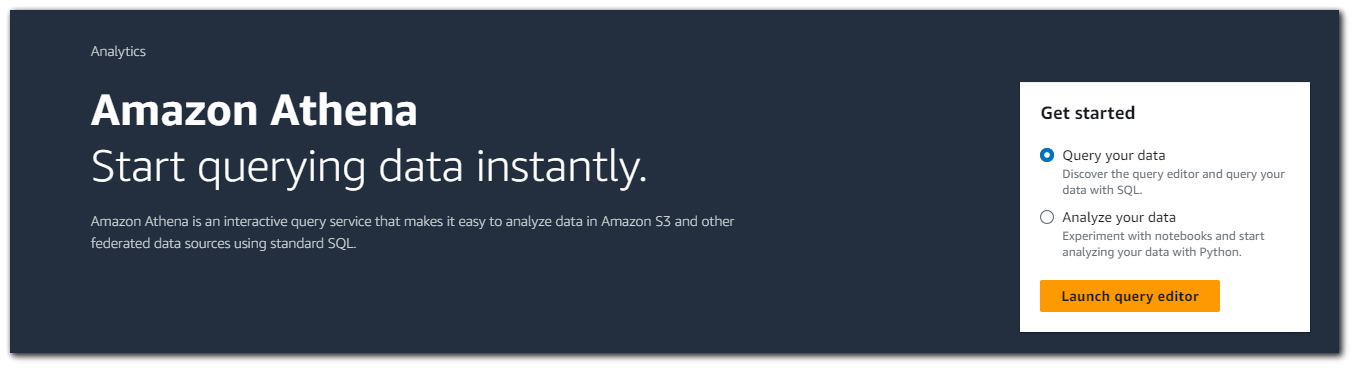
Amazon Athena is an interactive query service offered by Amazon Web Services (AWS) that allows you to analyze data in Amazon S3 using standard SQL queries. It's part of AWS's larger suite of data analytics and big data processing services. Athena is designed to provide a serverless and easy-to-use way to analyze and gain insights from large datasets without the need to set up and manage complex infrastructure.
Step 1: Data Collection
The first step in the process of using Athena is to have data. Athena supports various data formats like CSV, TSV, JSON, Parquet and others. I will collect some data and upload it to S3 in JSON format. We will then use Athena to query that data. Athena allows us to use S3 as a SQL database.
Note: Athena also supports compressed files such as `gzip (.gz)` and `Zlib (.bz2)`. Compressing your data in S3 and then using Athena to query the data could save you some money.
I will use the `httpx` tool from project discovery to collect some information on `*.airbnb.com` subdomains. This is the command I will use. This command is collecting information such as status code, title, content-length, IP, CNAME, etc... and outputting the data into JSON format.
cat airbnb.com.txt | httpx -sc -cl -title -ct -location -favicon -rt -lc -wc -server -td -ip -cname -cdn --json -o airbnb.jsonJSON Data Example
    {
        "timestamp":"2023-08-06T13:06:57.869364286-04:00",
        "hash":{
           "body_md5":"0d6a49ad0a9c1fd5fd374a4984c4c763",
           "body_mmh3":"314312011",
           "body_sha256":"b5245345231f1d454416876a76d1de2ef826f97d2f7819b2d82a0c7995726ace",
           "body_simhash":"9814101219004351334",
           "header_md5":"91ecd6f42cf378af66934eac1f223be3",
           "header_mmh3":"-1122951683",
           "header_sha256":"083c5f3cd8ce90f154de0703d5e2e7e8bb30e863afbd466006492acbe8899397",
           "header_simhash":"10967304262780689263"
        },
        "port":"80",
        "url":"http://ans.rkai.next.airbnb.com",
        "input":"ans.rkai.next.airbnb.com",
        "title":"Invalid URL",
        "scheme":"http",
        "webserver":"AkamaiGHost",
        "content_type":"text/html",
        "method":"GET",
        "host":"23.47.144.152",
        "path":"/",
        "favicon_path":"/favicon.ico",
        "time":"30.184397ms",
        "a":[
           "23.47.144.152",
           "23.47.144.137"
        ],
        "cname":[
           "w.airbnb.com.edgekey.net",
           "e74147.a.akamaiedge.net"
        ],
        "words":8,
        "lines":8,
        "status_code":400,
        "content_length":209,
        "failed":false
     }
Step 2: Uploading Data to S3
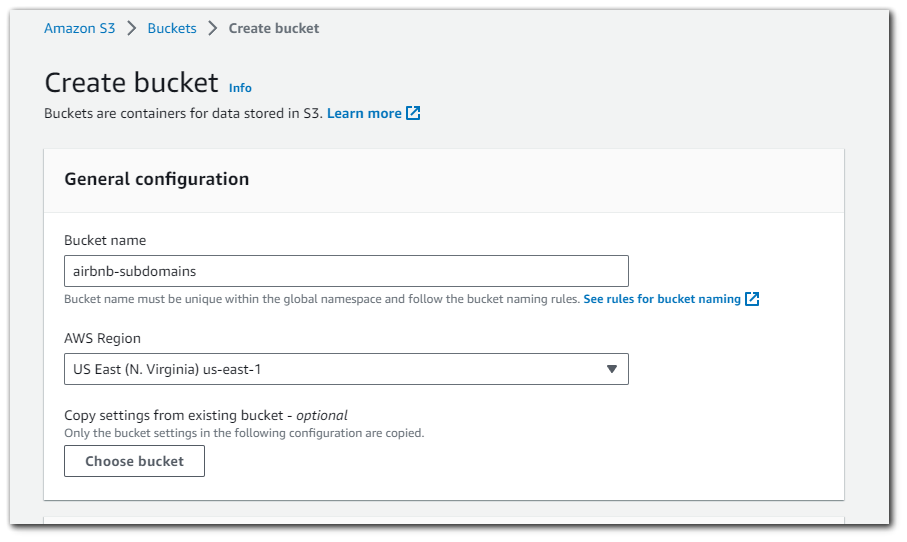
I will create a new S3 bucket and call it `airbnb-subdomains`. I will leave all the other options as default because we will not be using this bucket publicly.
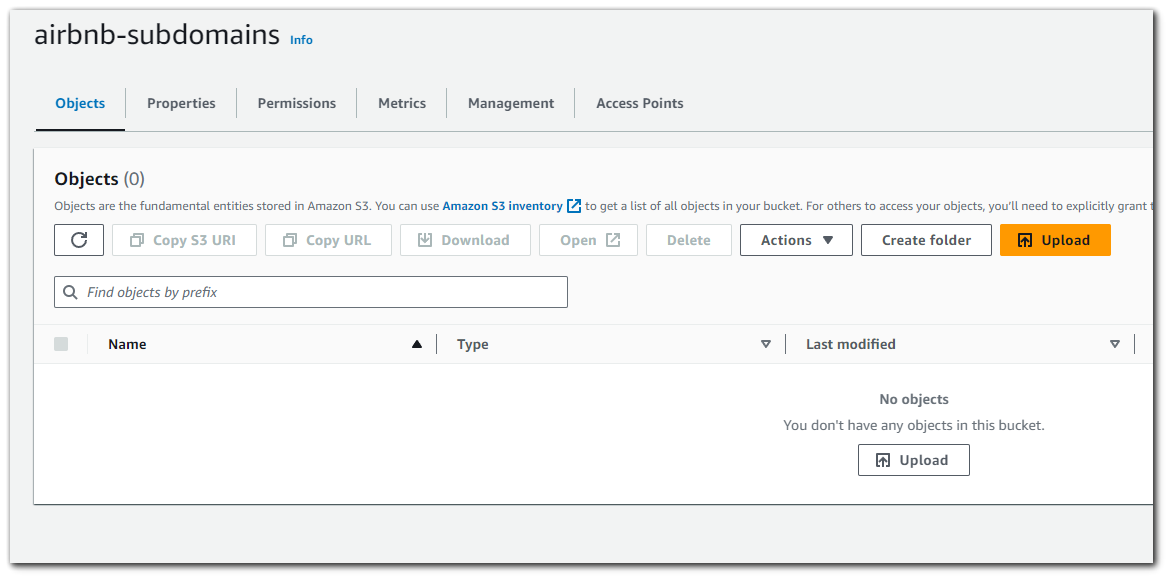
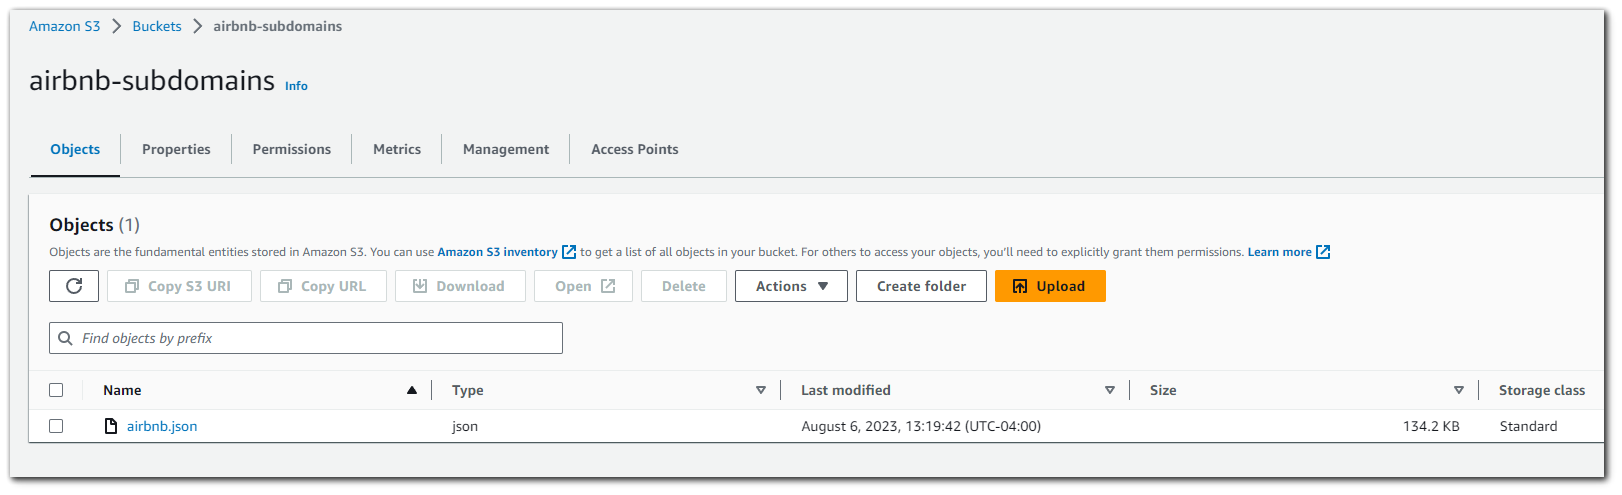
With the bucket created, I will now upload my JSON data.
Step 3: Set up Query Result S3 Bucket
When you run a query using Amazon Athena, the result of the query will be put into an S3 bucket. We will need to create another S3 bucket which will house our SQL query results from Athena.
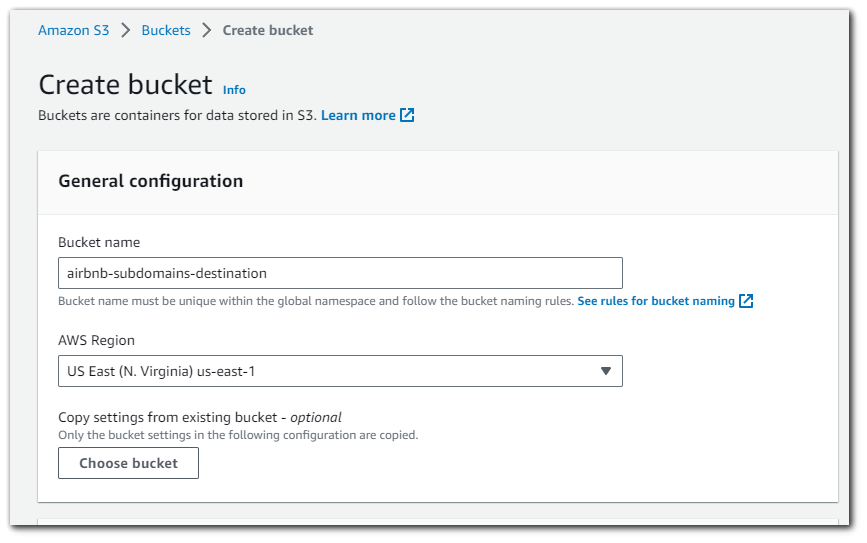
I will create another S3 bucket and call it `airbnb-subdomains-destination`. Once again I will leave the rest of the settings as default.
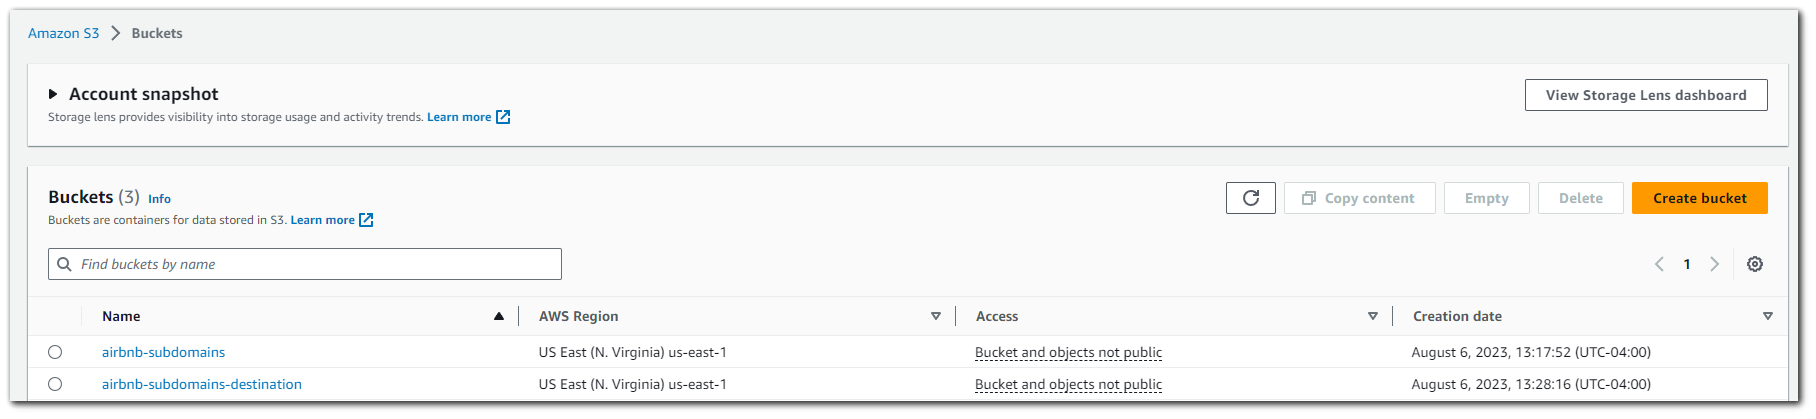
The S3 bucket dashboard should now contain both your `airbnb-subdomain` bucket which houses the JSON data for the `airbnb` subdomains, and you should also have the `airbnb-subdomains-destination` bucket which will house the Athena SQL query results.
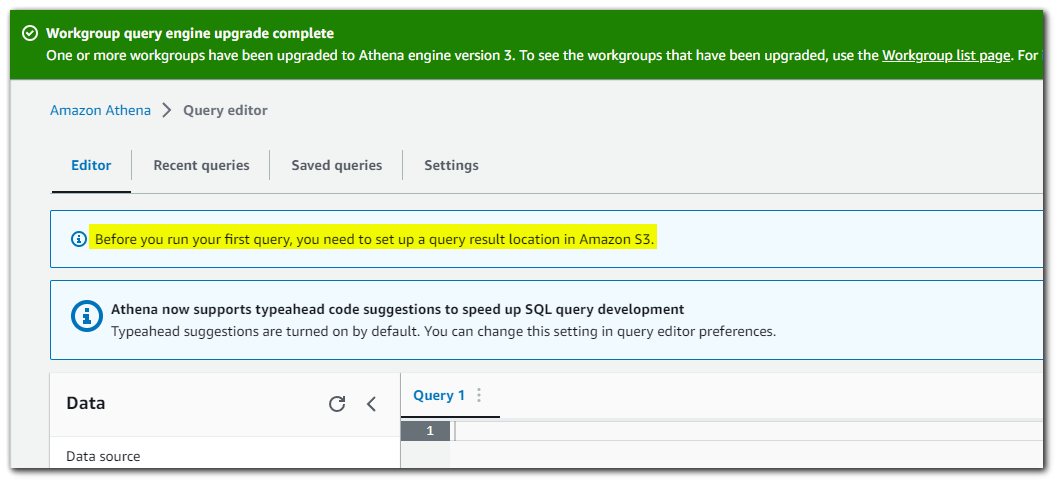
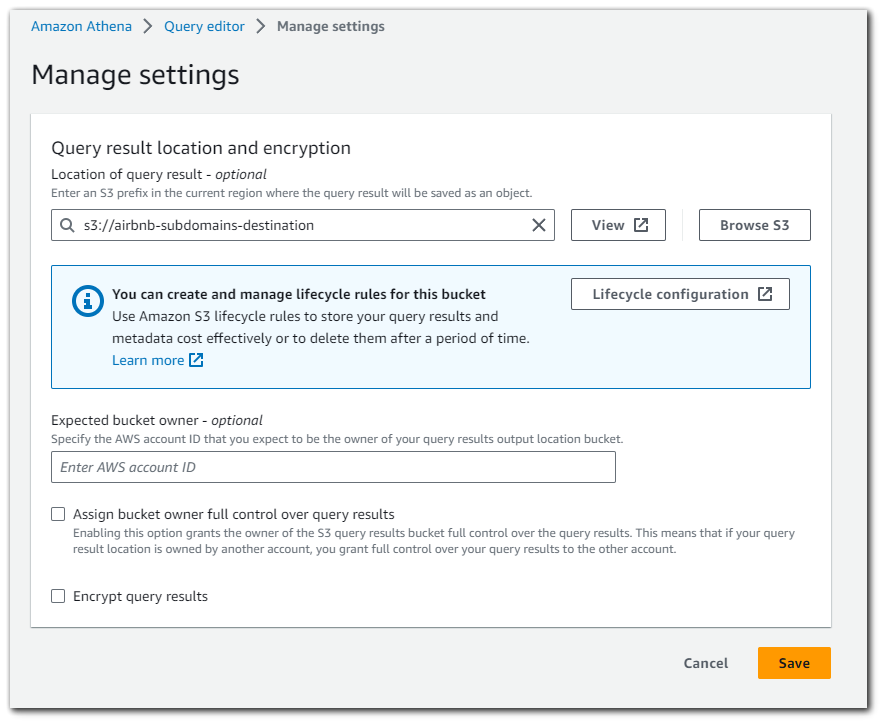
Going over to the Athena dashboard we can see that we are being prompted to setup a destination for our queries to go (`airbnb-subdomains-destination`).
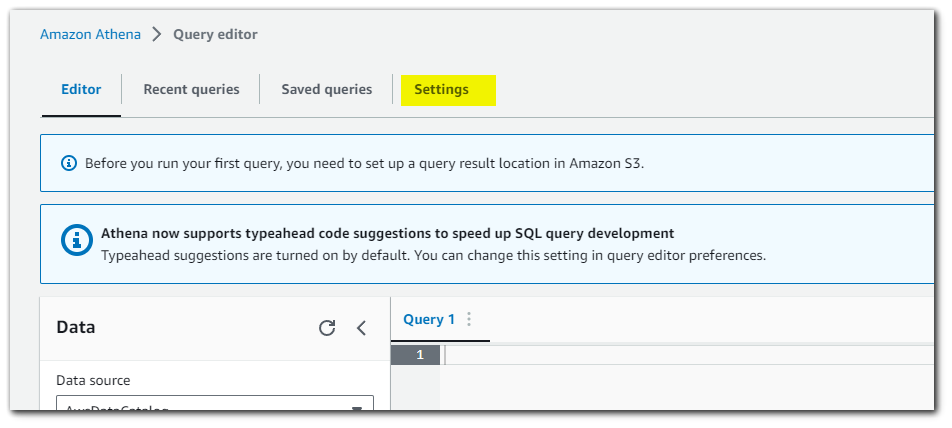
Go to setting and select the destination S3 bucket.
Chose the destination bucket.
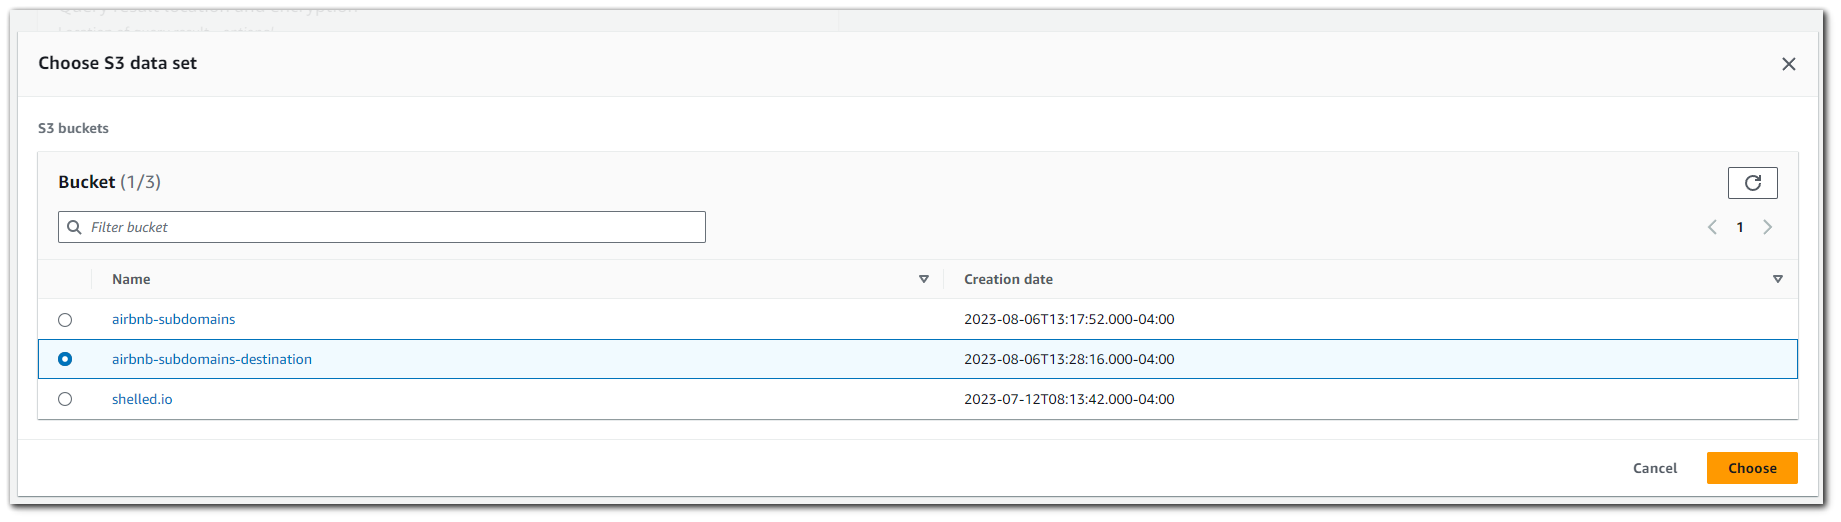
Save
Step 4: Defining/Detecting your Schema
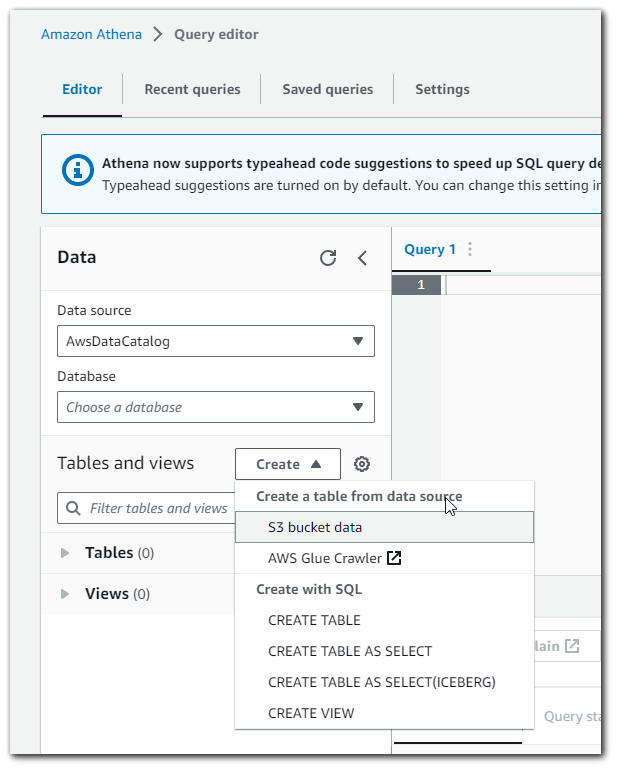
We will now need to tell Athena how our data is structured. We can do this in 2 ways:
- AWS Glue
- Manually creating a table
AWS Glue is used to structure our schema automatically. It works by having a crawler crawl our S3 bucket and discover the Schema that way. Alternatively, we can enter how our schema should be manually.
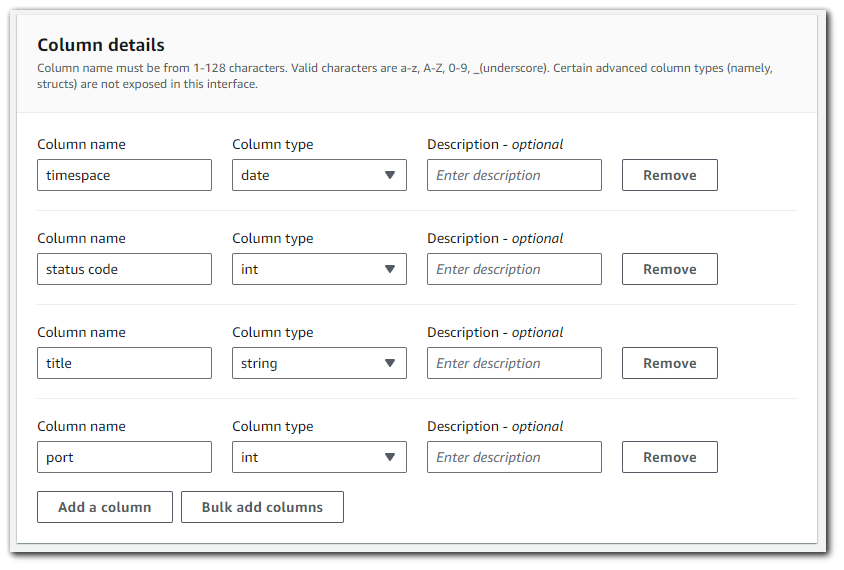
The manual way of adding the schema is quite tedious. As you can see, we will need to enter the column name and the column type for each column in the schema.
Step 5: AWS Glue
Using AWS glue will allow us to click a few buttons and how our JSON data schema created for us via crawlers.
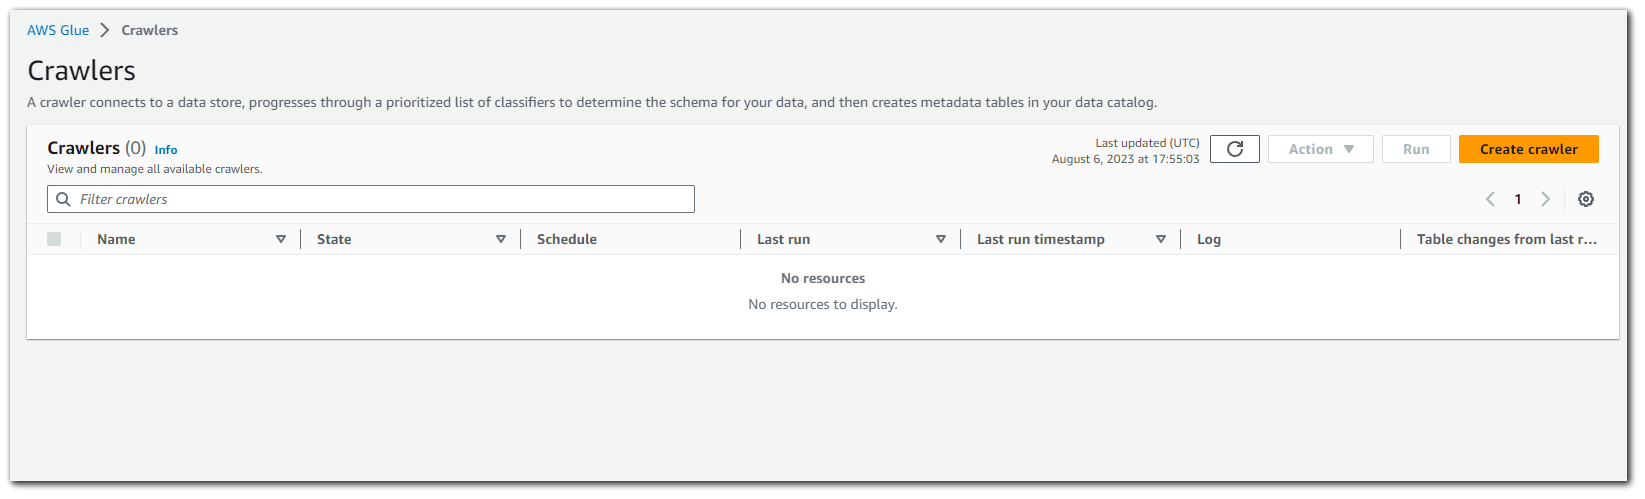
Go to AWS Glue > Crawlers and the click on "Create crawler"
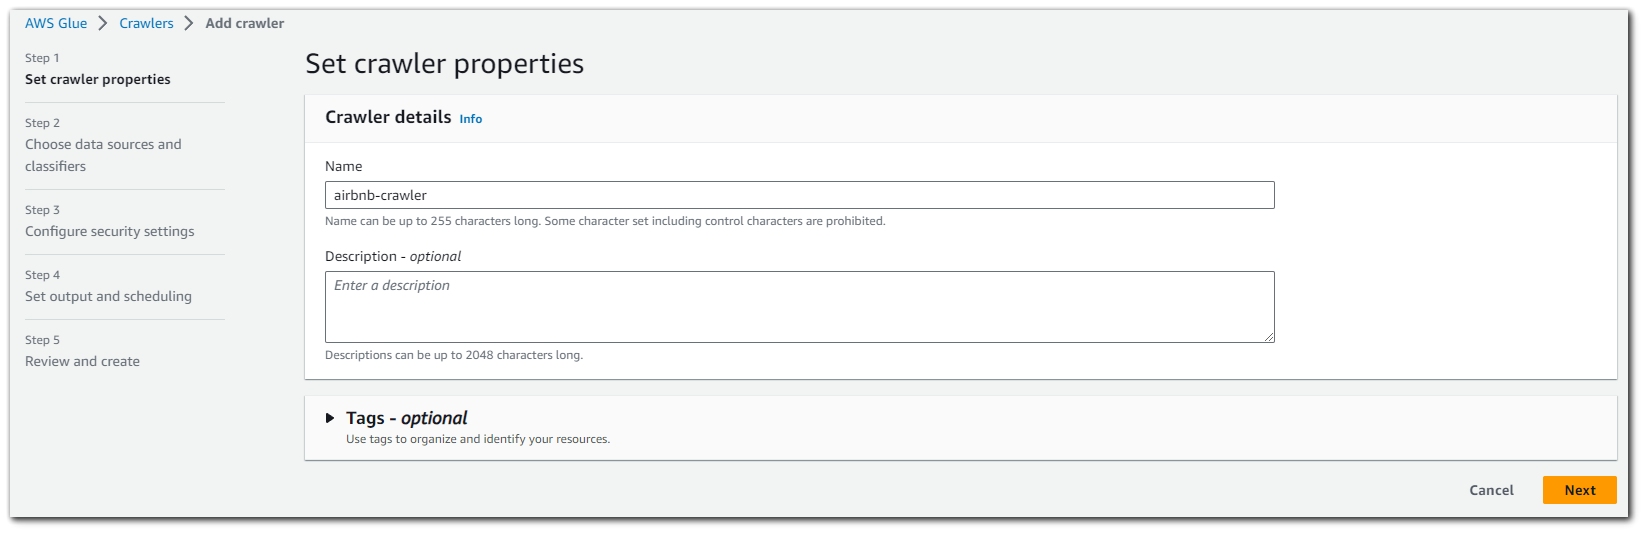
We will name the AWS Glue crawler `airbnb-crawler`. Then click on "Next"
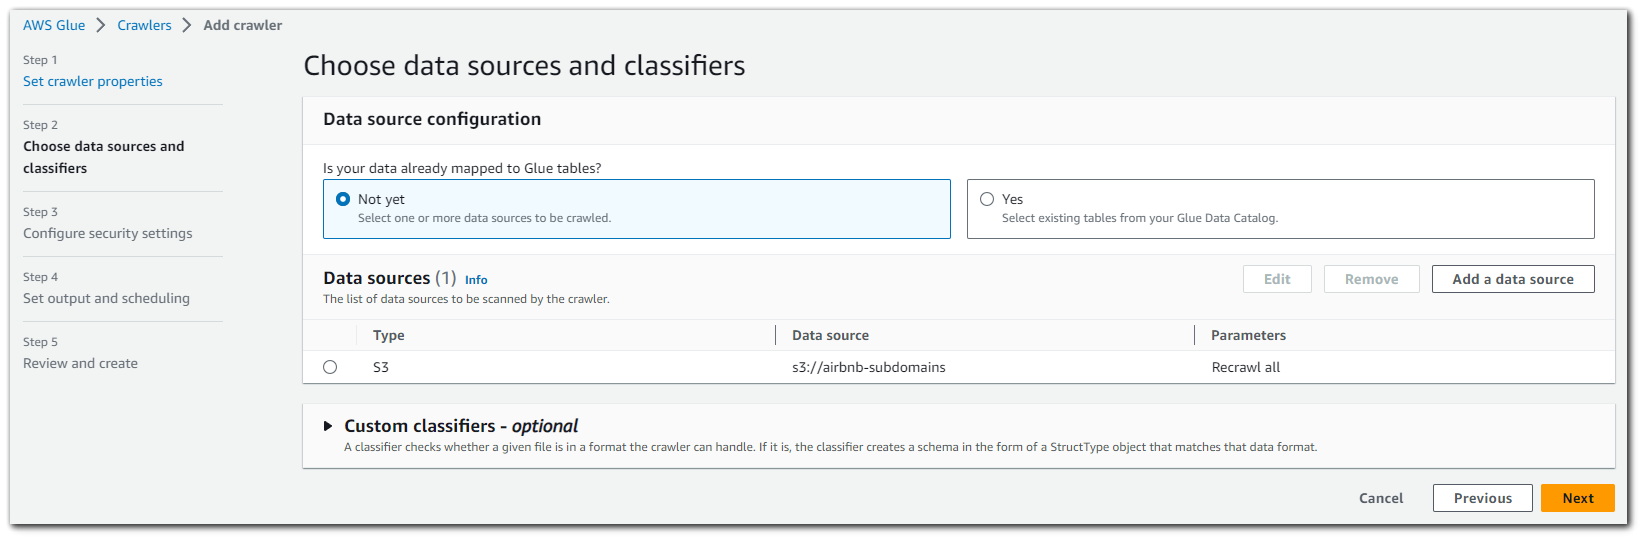
From here we what to "Add a data source".
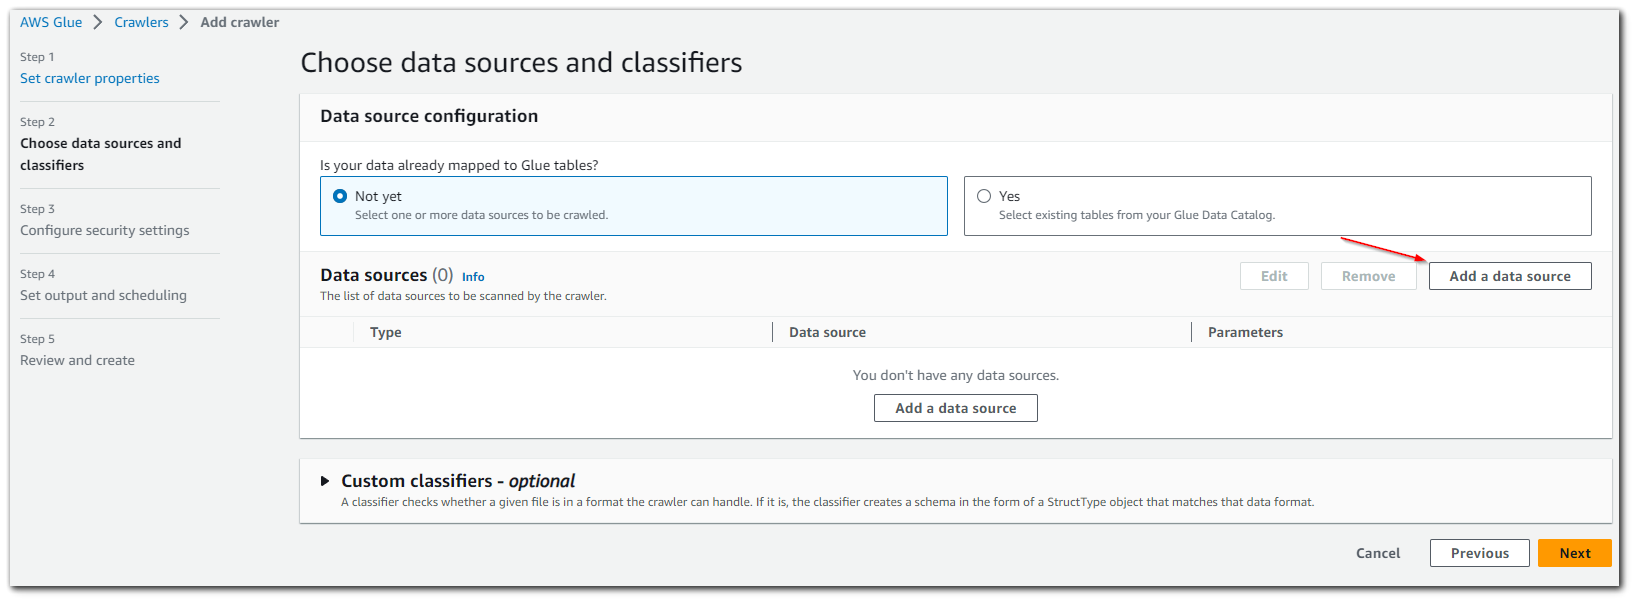
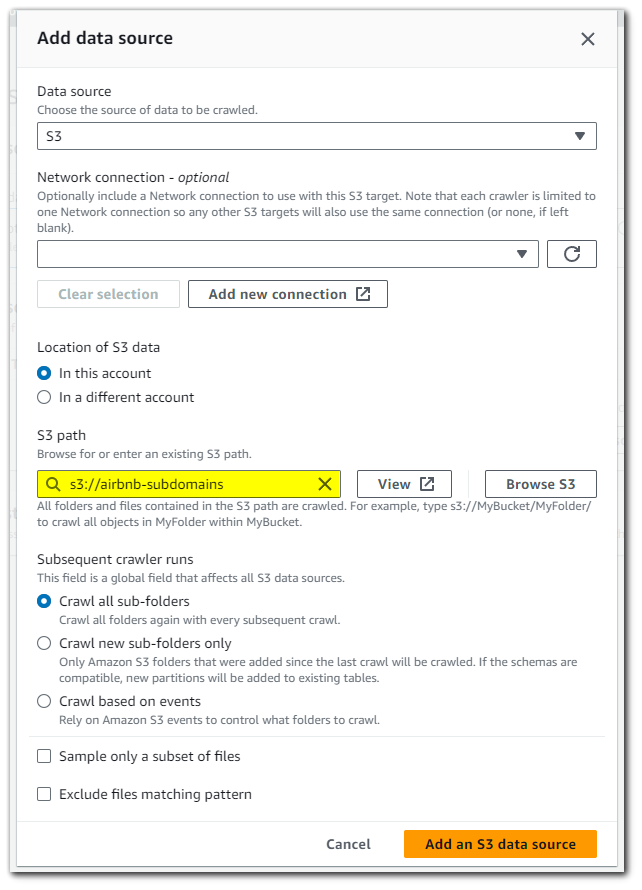
Inside the "Add a data source", we will want to specify that we are using S3 as our data source and give the path to the S3 bucket containing the JSON data.
With our data source setup, click on "Next".
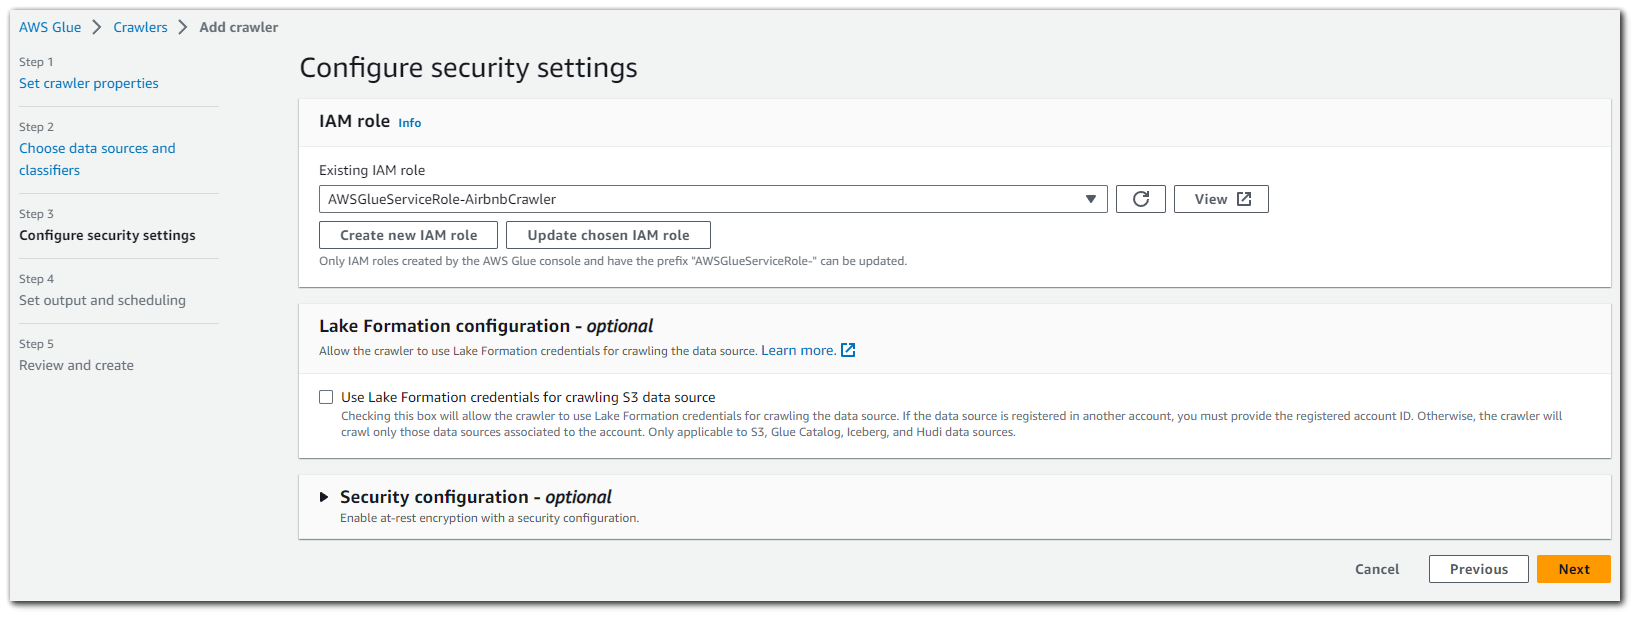
This next step involves creating an IAM role for the AWS Glue crawler in order to give the crawler permissions to read S3 data.
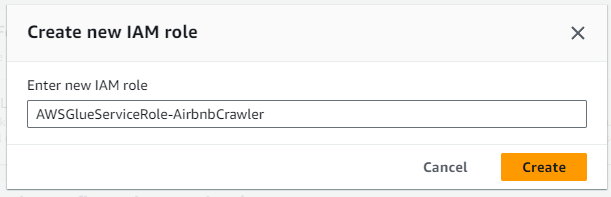
Our new IAM role is created, click on "Next"
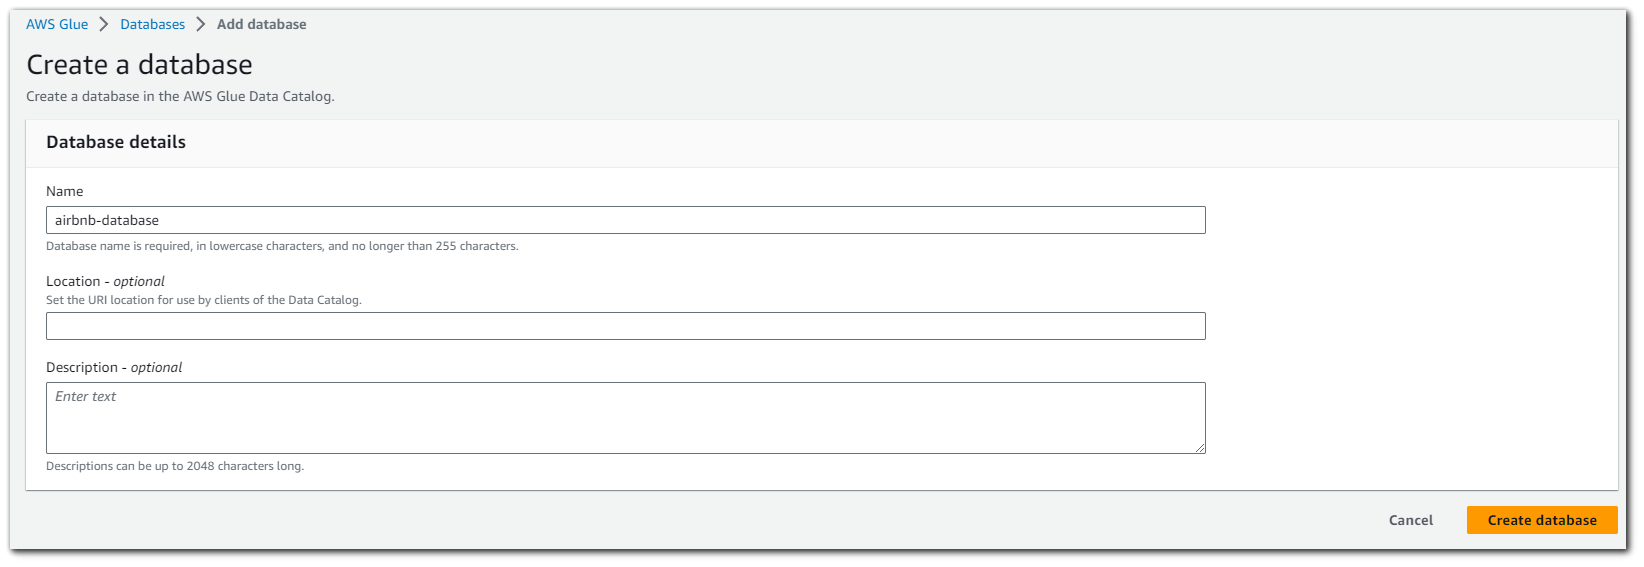
We will now need to create an AWS Glue database. This database will house all the tables created by the crawler.
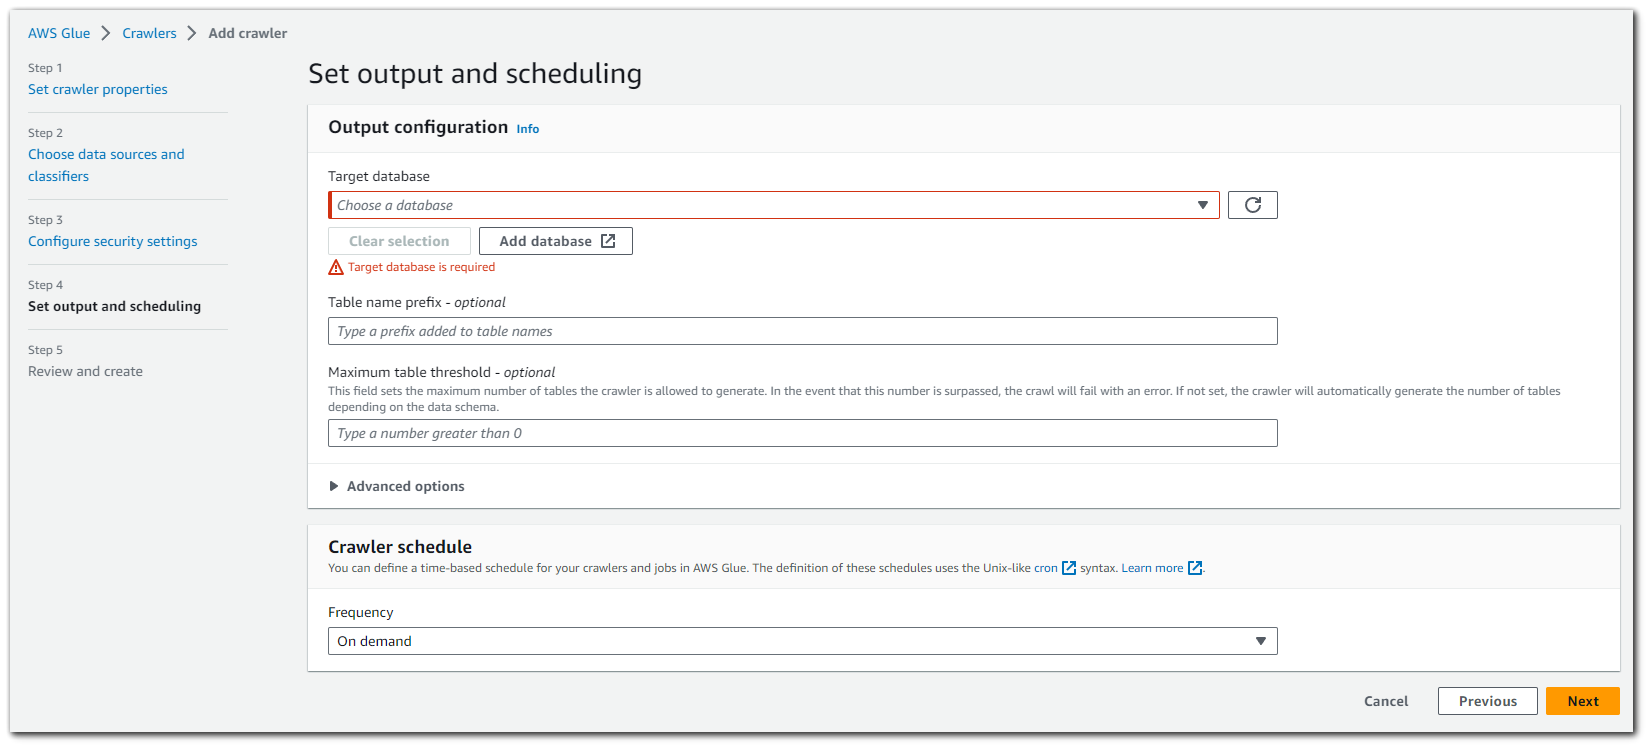
Create an AWS Glue database, we will call it `airbnb-database`. Click "Create database"

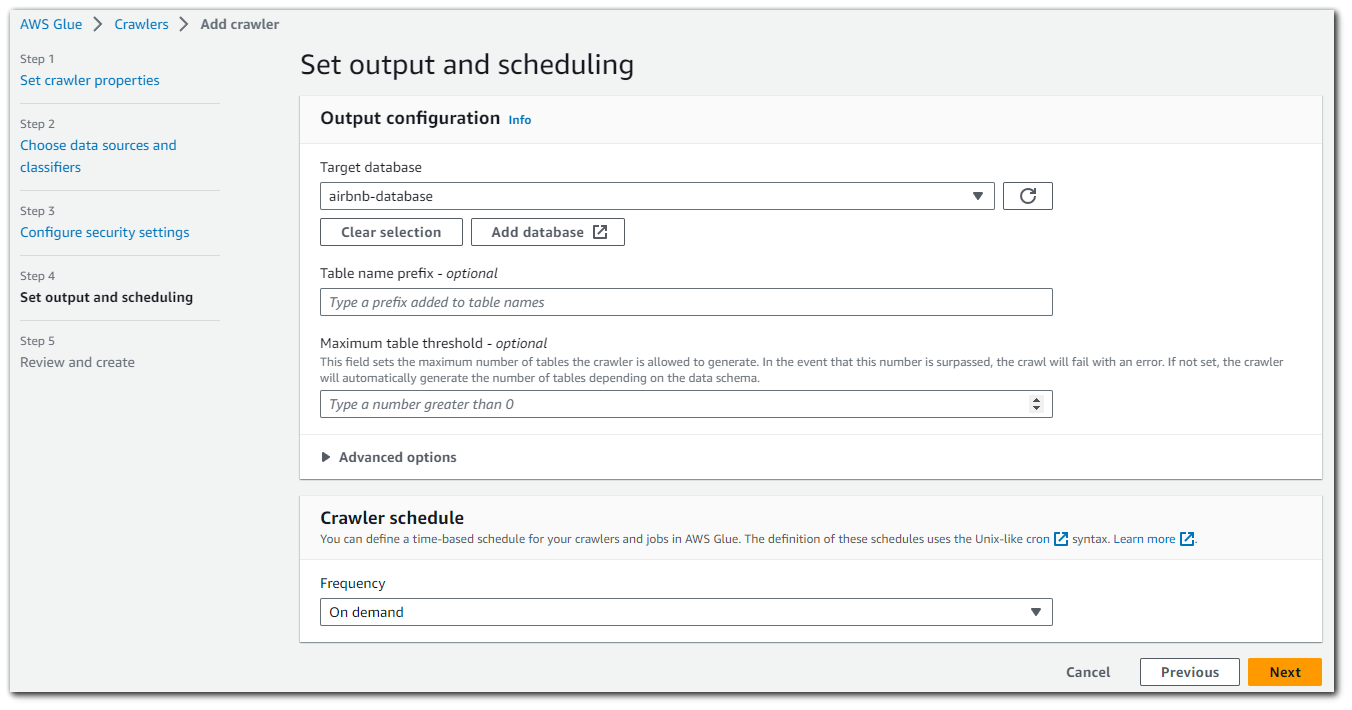
With the AWS Glue database created, we can select it as the target database for our crawler to use. We can also configure a crawler schedule. I have it set as "On demand" meaning I can click to run it, but other options are: hourly, daily, weekly, monthly and custom.
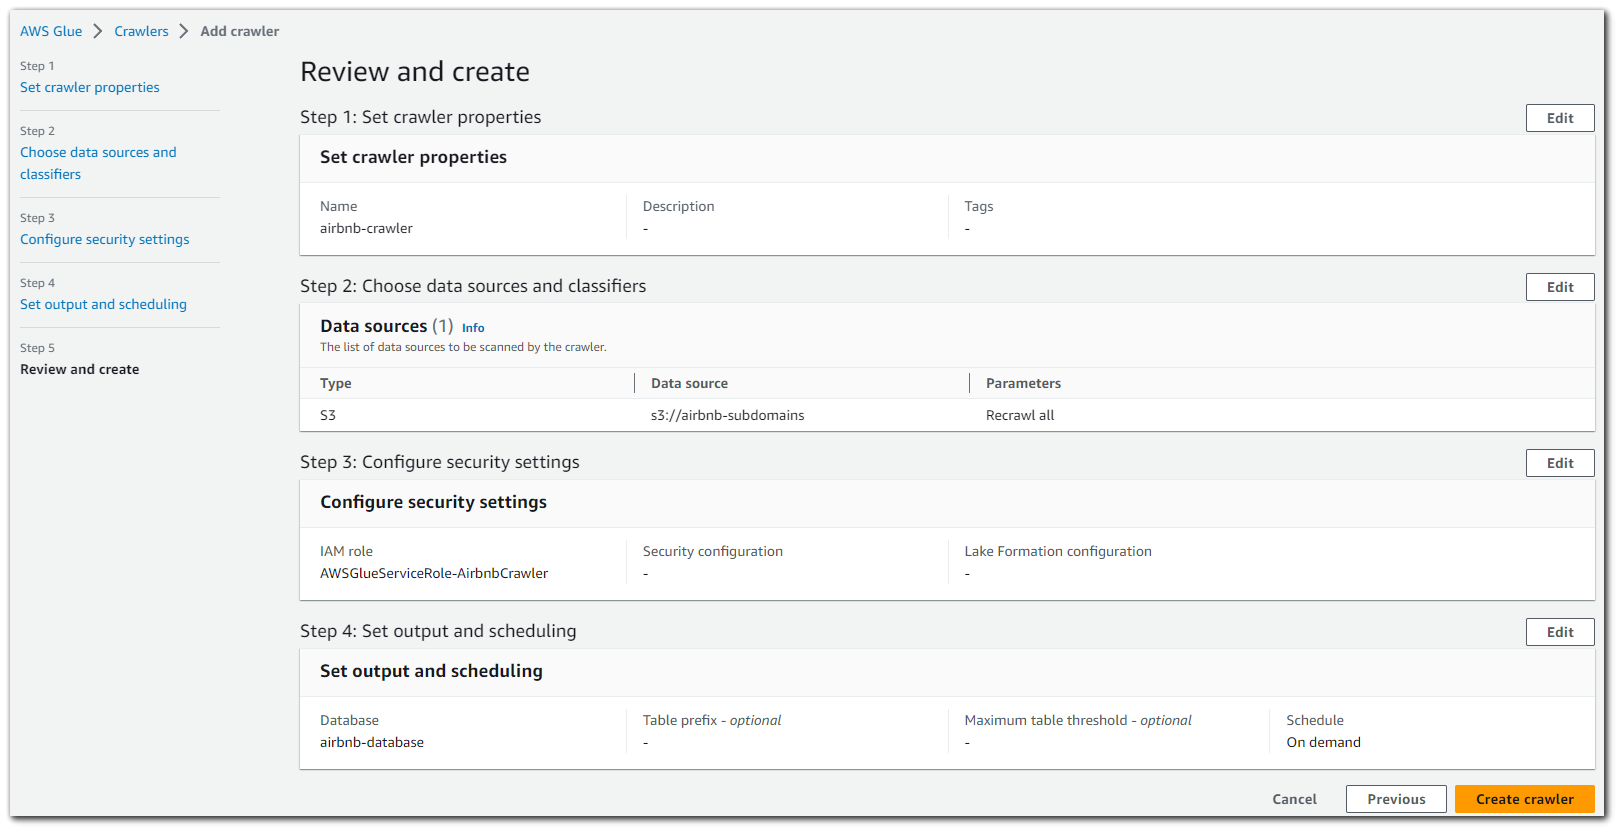
Review and create. Click on "Create crawler".
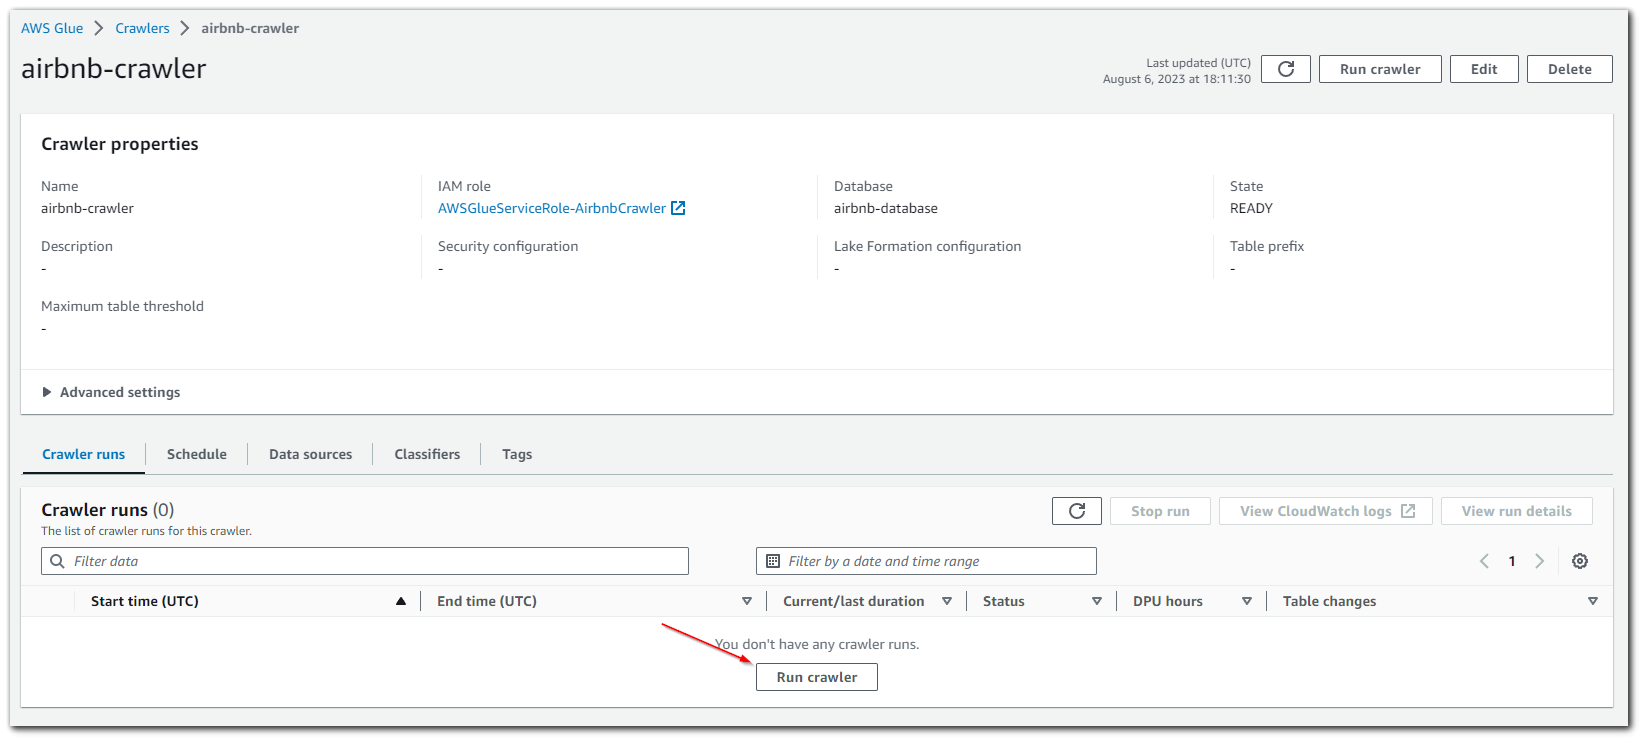
The crawler is now created and setup to output the tables in the database we created. Lets run the crawler to get our JSON schema.
The JSON file I used is quite small, so it only took 48 seconds to crawl

With the crawler finished, we can see that the AWS Glue database we created now has tables.
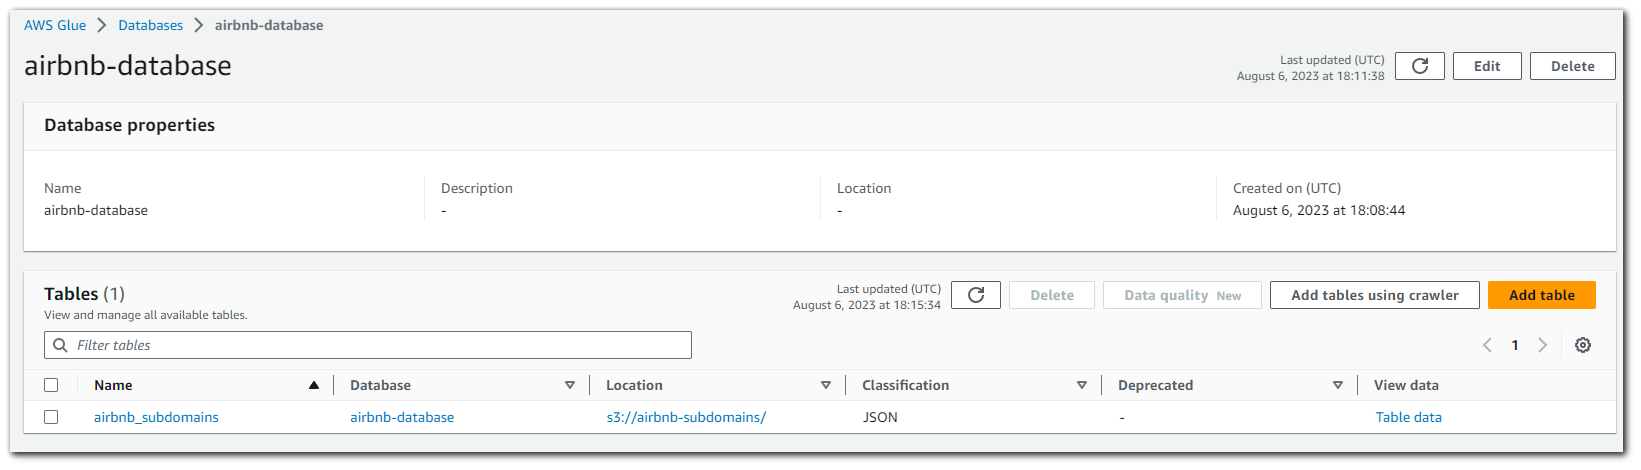
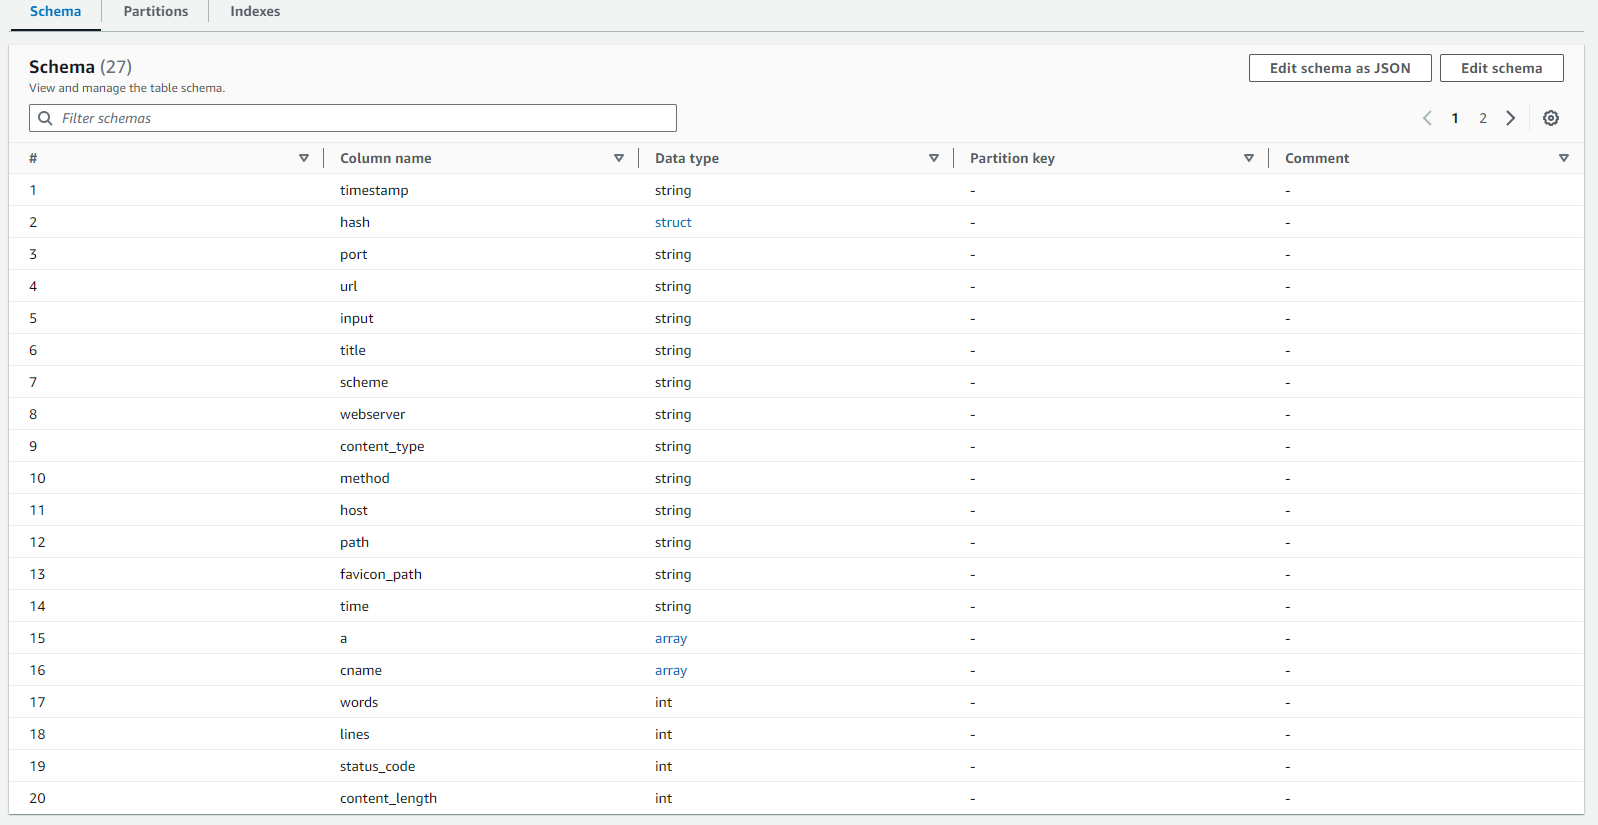
By clicking on the name of the database, we can see what type the AWS Glue crawler identified each column as. As you can see in the image below, the AWS Glue crawler identified the "port" column as being string. This is not an issue, but if I wanted it to be an integer, I can edit the schema if I want to.
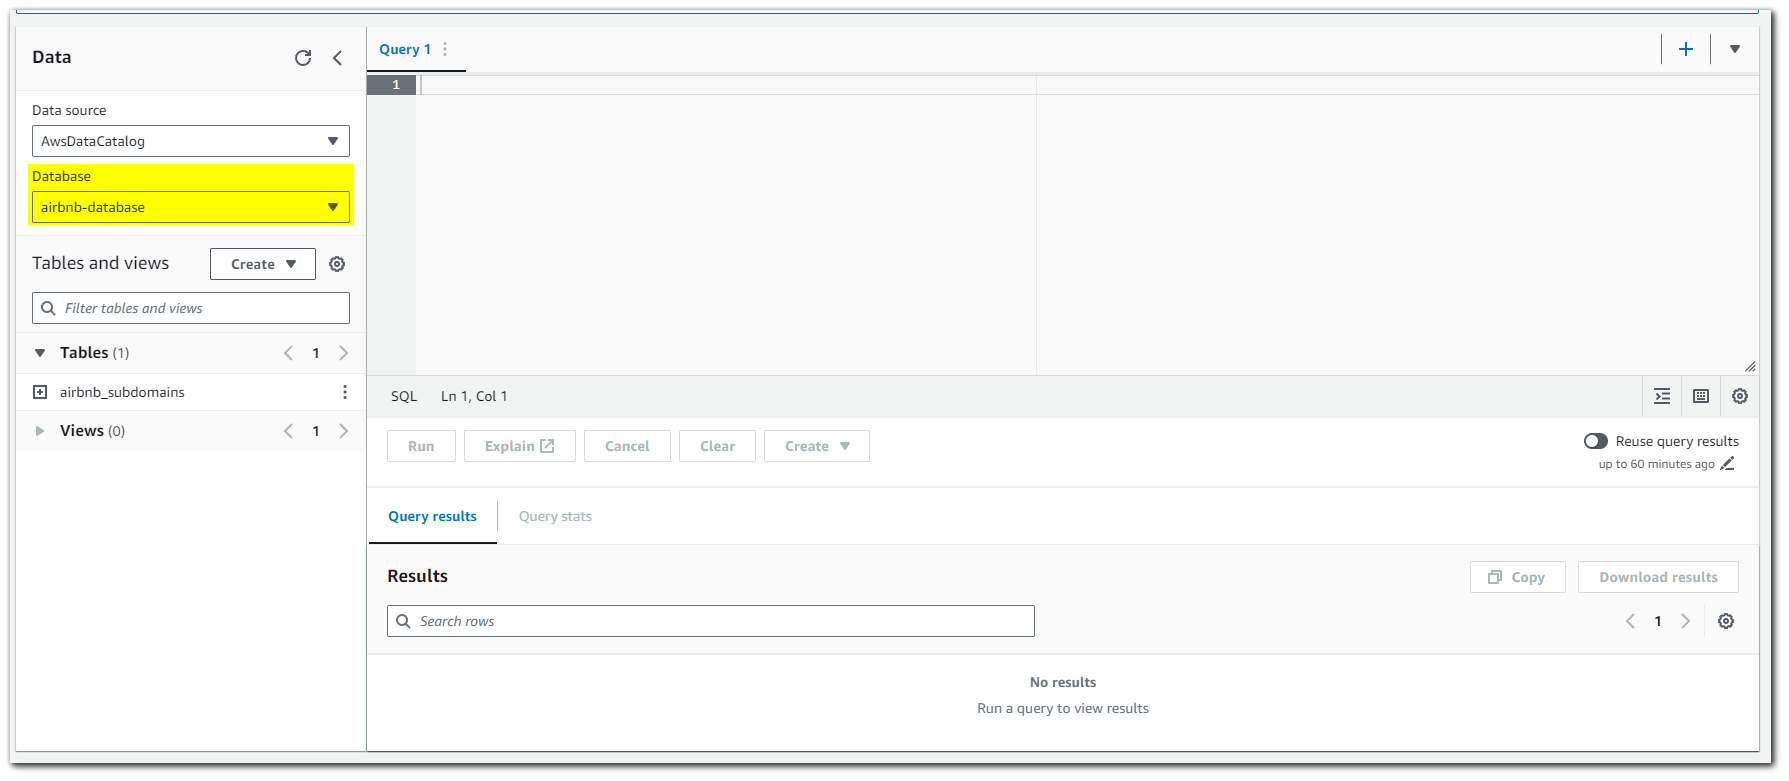
Step 6: Querying Data with AWS Athena
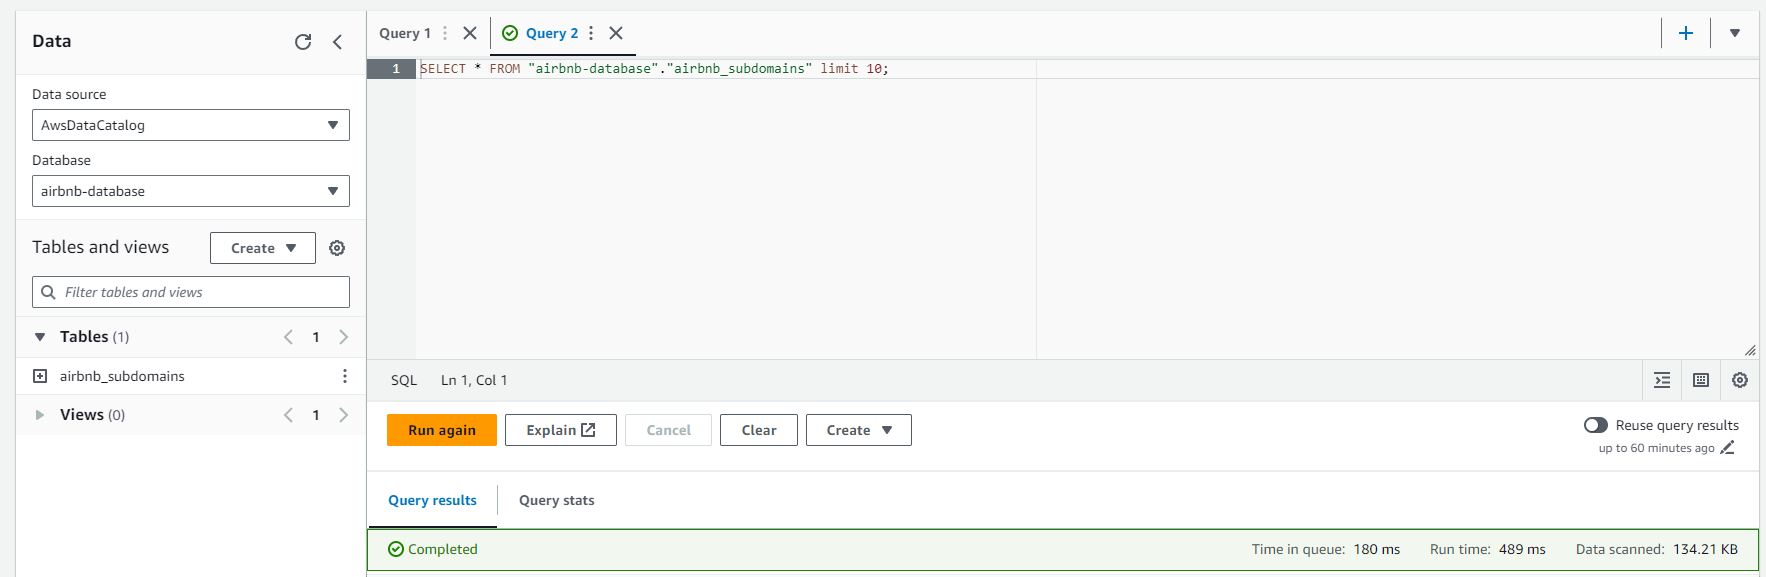
Going back to AWS Athena we can see that there is now an option to select the AWS Glue database we created.
Click to "Preview Table"
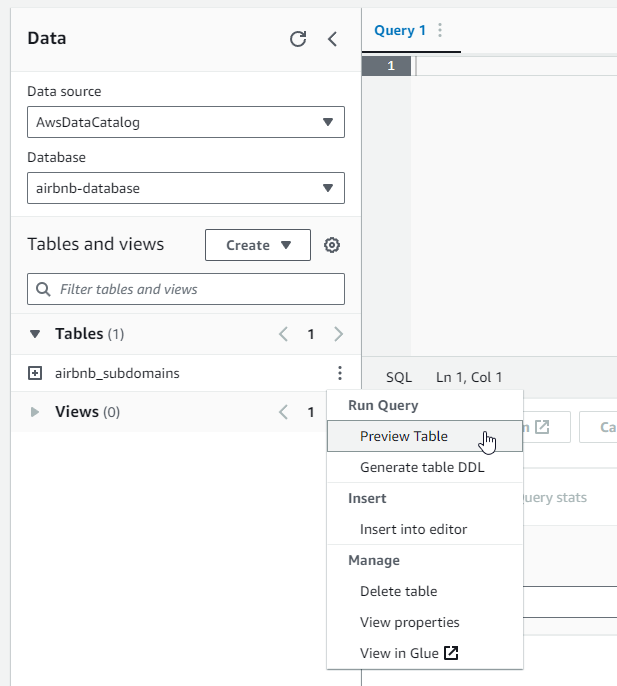
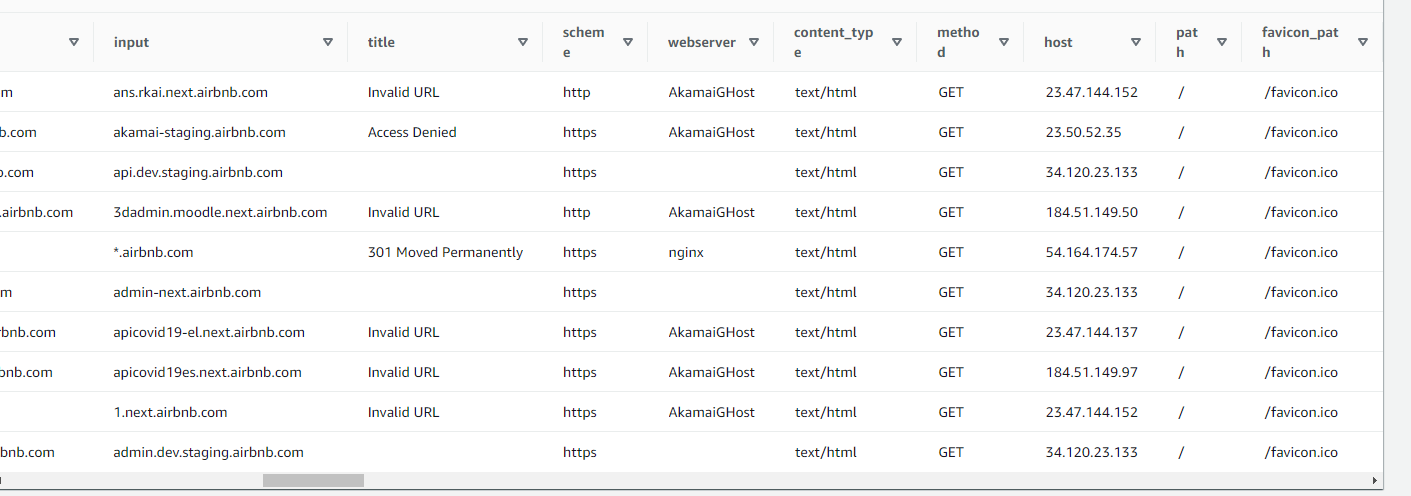
This will run a SQL query returning 10 results
Results
Step 7: More SQL
You have successfully used AWS Athena to query data from an S3 bucket. Here are some more queries I did just to get an understanding.
Get only the URLs
SELECT url FROM "airbnb-database"."airbnb_subdomains" limit 10;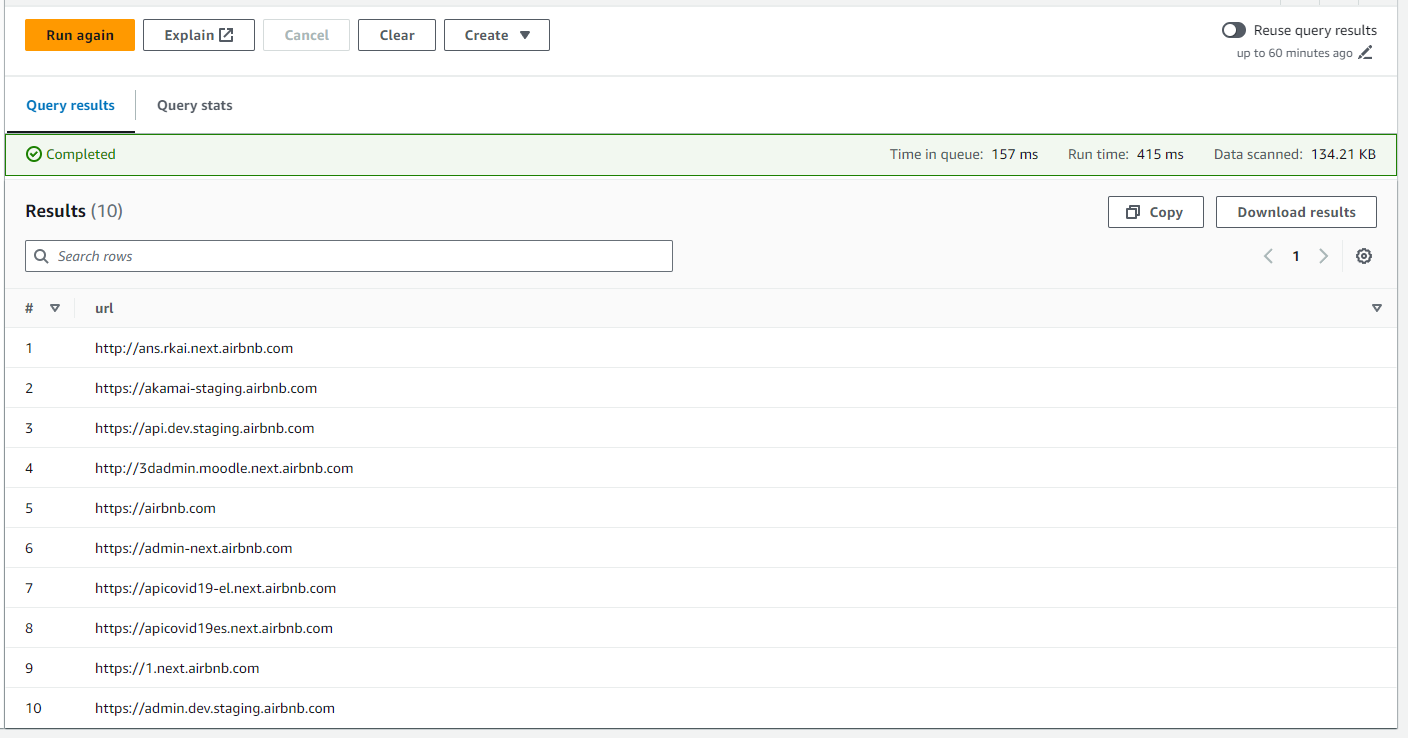
Get only the URLs on port 80
SELECT url FROM "airbnb-database"."airbnb_subdomains" WHERE port = '80';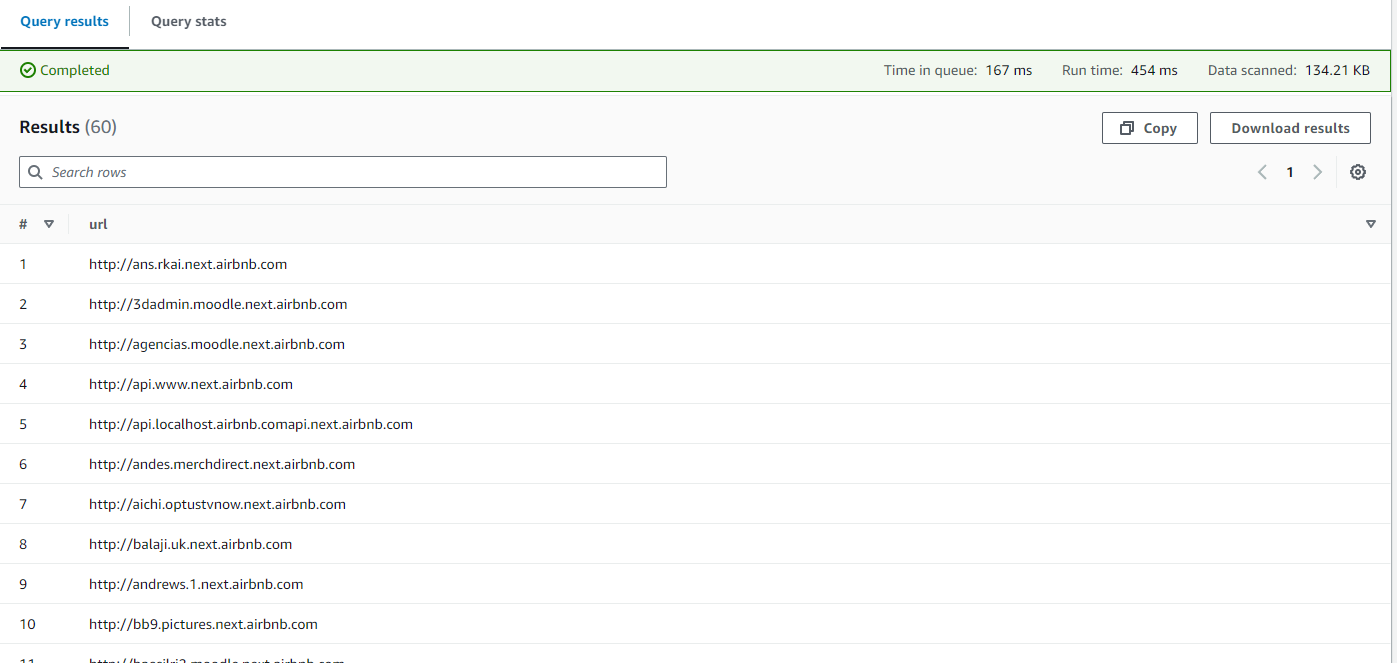
Note that Athena doesn't allow for double quotes to denote string literals. You need to use single quote when denoting string literals. The query below will cause the following error due to this: COLUMN_NOT_FOUND: line 1:68: Column '80' cannot be resolved or requester is not authorized to access requested resources
SELECT url FROM "airbnb-database"."airbnb_subdomains" WHERE port = "80";Get only the URLs using nginx as the webserver
SELECT url, webserver FROM "airbnb-database"."airbnb_subdomains" WHERE webserver = 'nginx';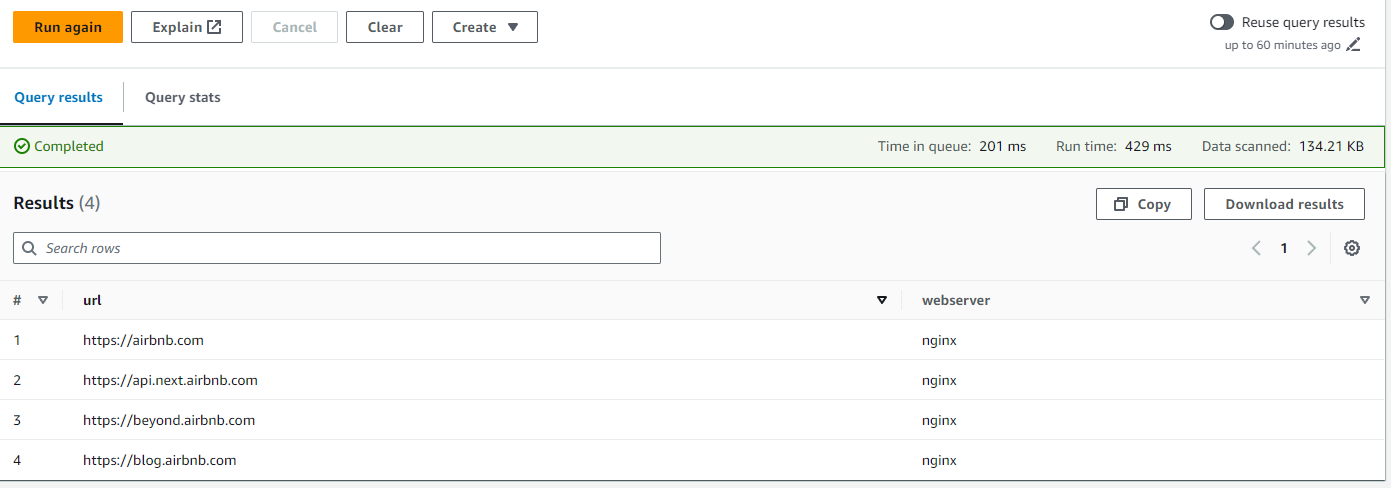
Get all the URLs that have a status code of 403
SELECT "url", "status_code" FROM "airbnb-database"."airbnb_subdomains" where "status_code" = 403;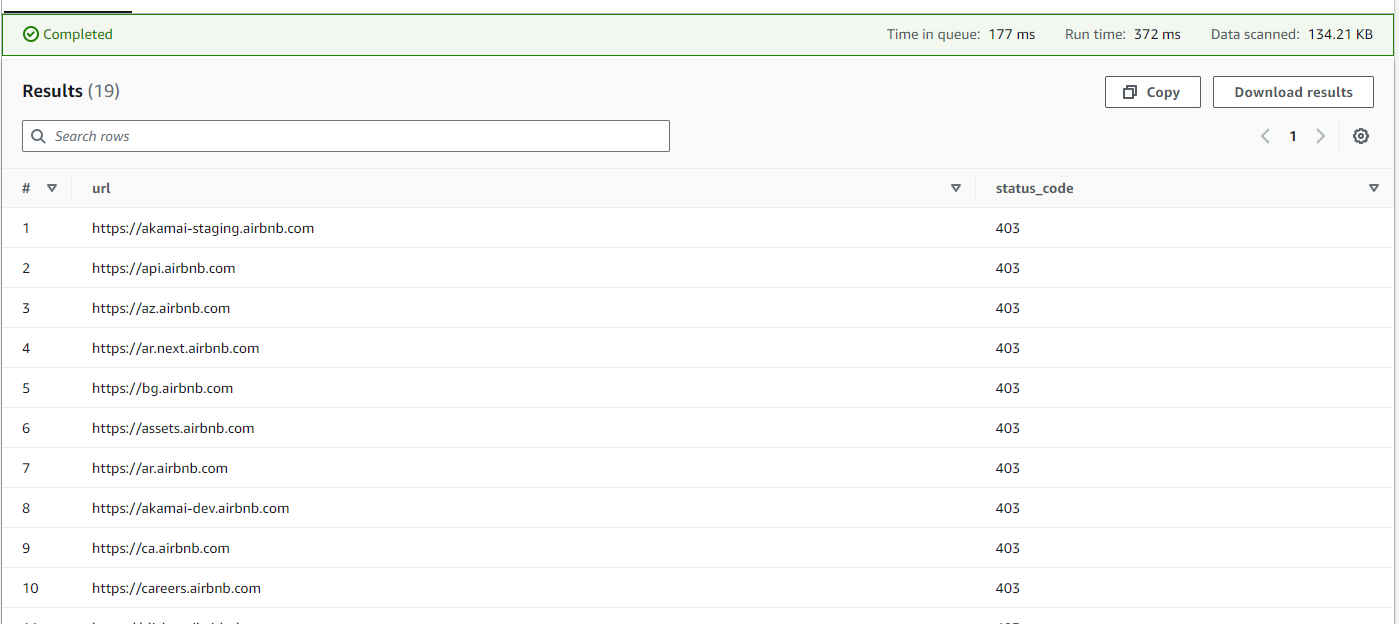
Note on Pricing
With per query billing, you can get started quickly and pay only for the data scanned by queries you run. You are charged for the number of bytes scanned per query, rounded up to the nearest megabyte, with a 10 MB minimum per query. There are no charges for Data Definition Language (DDL) statements like CREATE, ALTER, or DROP TABLE statements for managing partitions, or failed queries. Canceled queries are billed for the total amount of data scanned when the query is canceled.
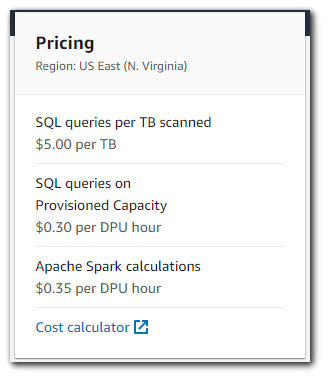
Example SQL Query and Note on Compression
Consider a table with 4 equally sized columns, stored as an uncompressed text file with a total size of 3 TB on Amazon S3. Running a query to get data from a single column of the table requires Amazon Athena to scan the entire file because text formats can't be split.
This query would cost: $15. (Price for 3 TB scanned is 3 * $5/TB = $15.)
If you compress your file using GZIP, you might see 3:1 compression gains. In this case, you would have a compressed file with a size of 1 TB. The same query on this file would cost $5. Athena has to scan the entire file again, but because it's three times smaller in size, you pay one-third of what you did before. If you compress your file and also convert it to a columnar format like Apache Parquet, achieving 3:1 compression, you would still end up with 1 TB of data on S3. But, in this case, because Parquet is columnar, Athena can read only the column that is relevant for the query being run. Because the query in question only references a single column, Athena reads only that column and can avoid reading three-fourths of the file. Since Athena only reads one-fourth of the file, it scans just 0.25TB of data from S3.
This query would cost: $1.25. There is a 3x savings from compression and 4x savings for reading only one column. (File size = 3TB/3 = 1 TB. Data scanned when reading a single column = 1TB/4 = 0.25 TB. Price for 0.25 TB = 0.25 * $5/TB = $1.25)